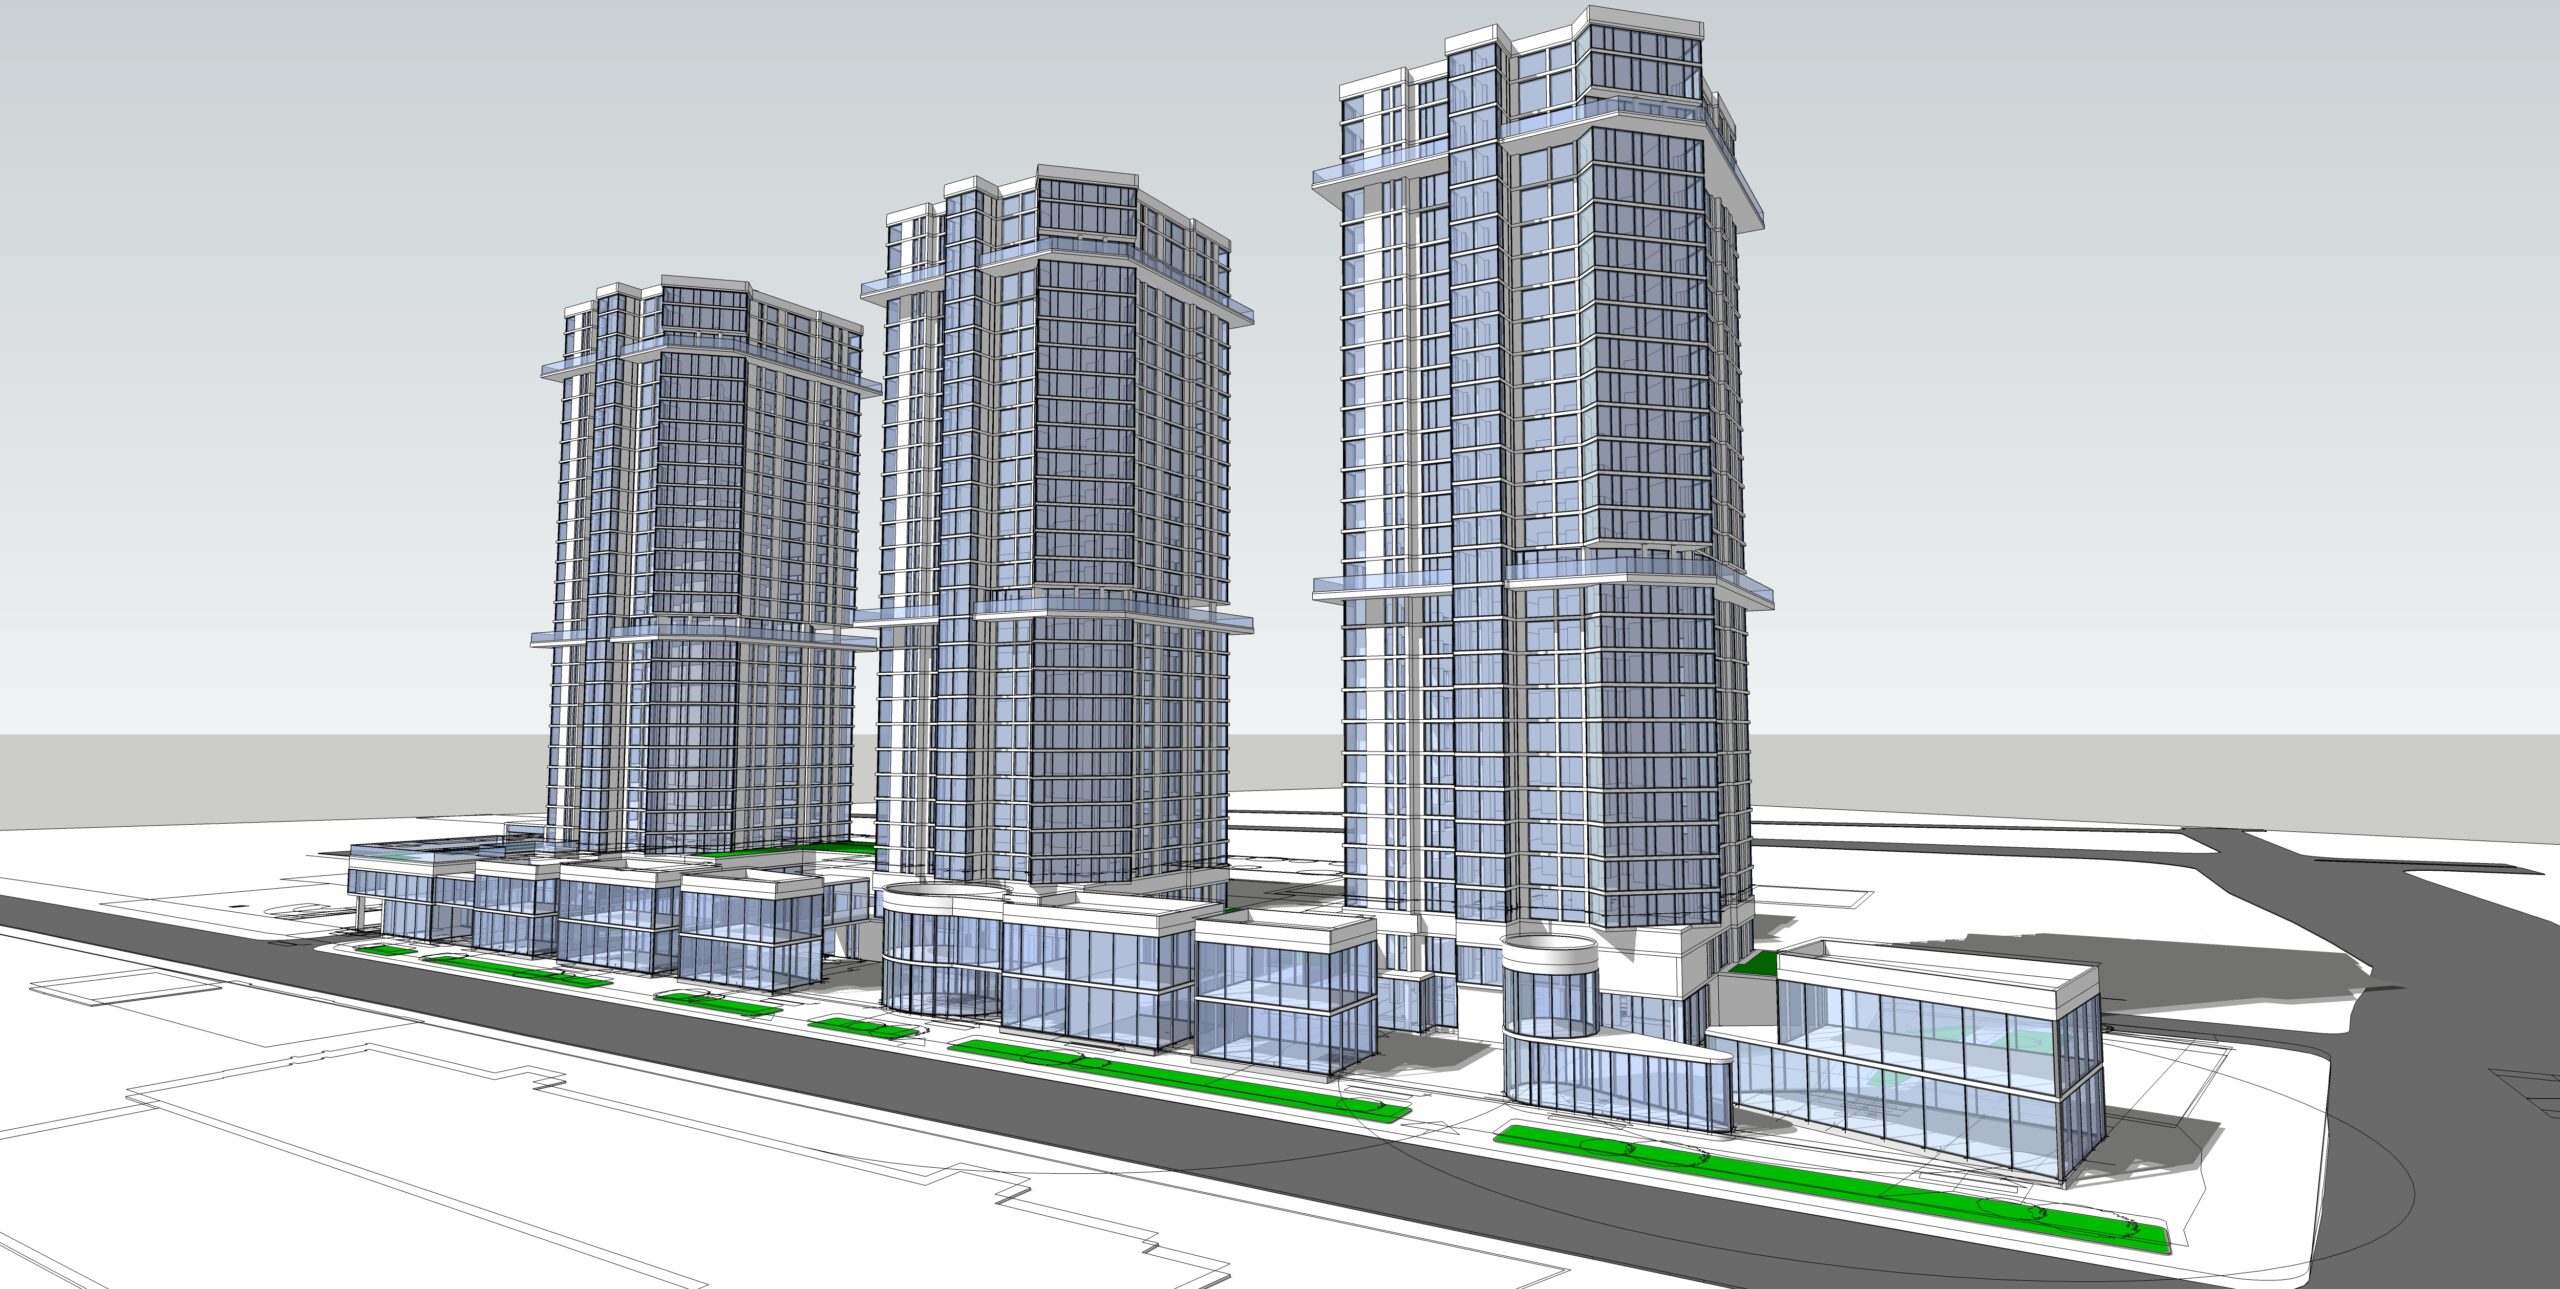
How to Create 3D Assets – Outsource 3D Modeling
Posted on : Feb 20, 2023
Creating 3D assets can be a complex process, but here are some general steps to get started:
Plan your asset: Before you start creating anything, you should have a clear idea of what you want to create. Consider the purpose of the asset, the level of detail required, and the desired style.
Choose 3D software: There are many 3D software options available, such as Blender, Maya, and 3ds Max. Choose the one that you are most comfortable with or that best fits your needs.
Model the asset: Use the 3D software to create the 3D geometry of your asset. This can involve creating basic shapes and then manipulating them to create more complex forms.
Add textures and materials: Apply textures and materials to your 3D model to give it color and surface properties such as glossiness or roughness.
Light the scene: Set up lighting to illuminate your 3D asset in a realistic or stylized way.
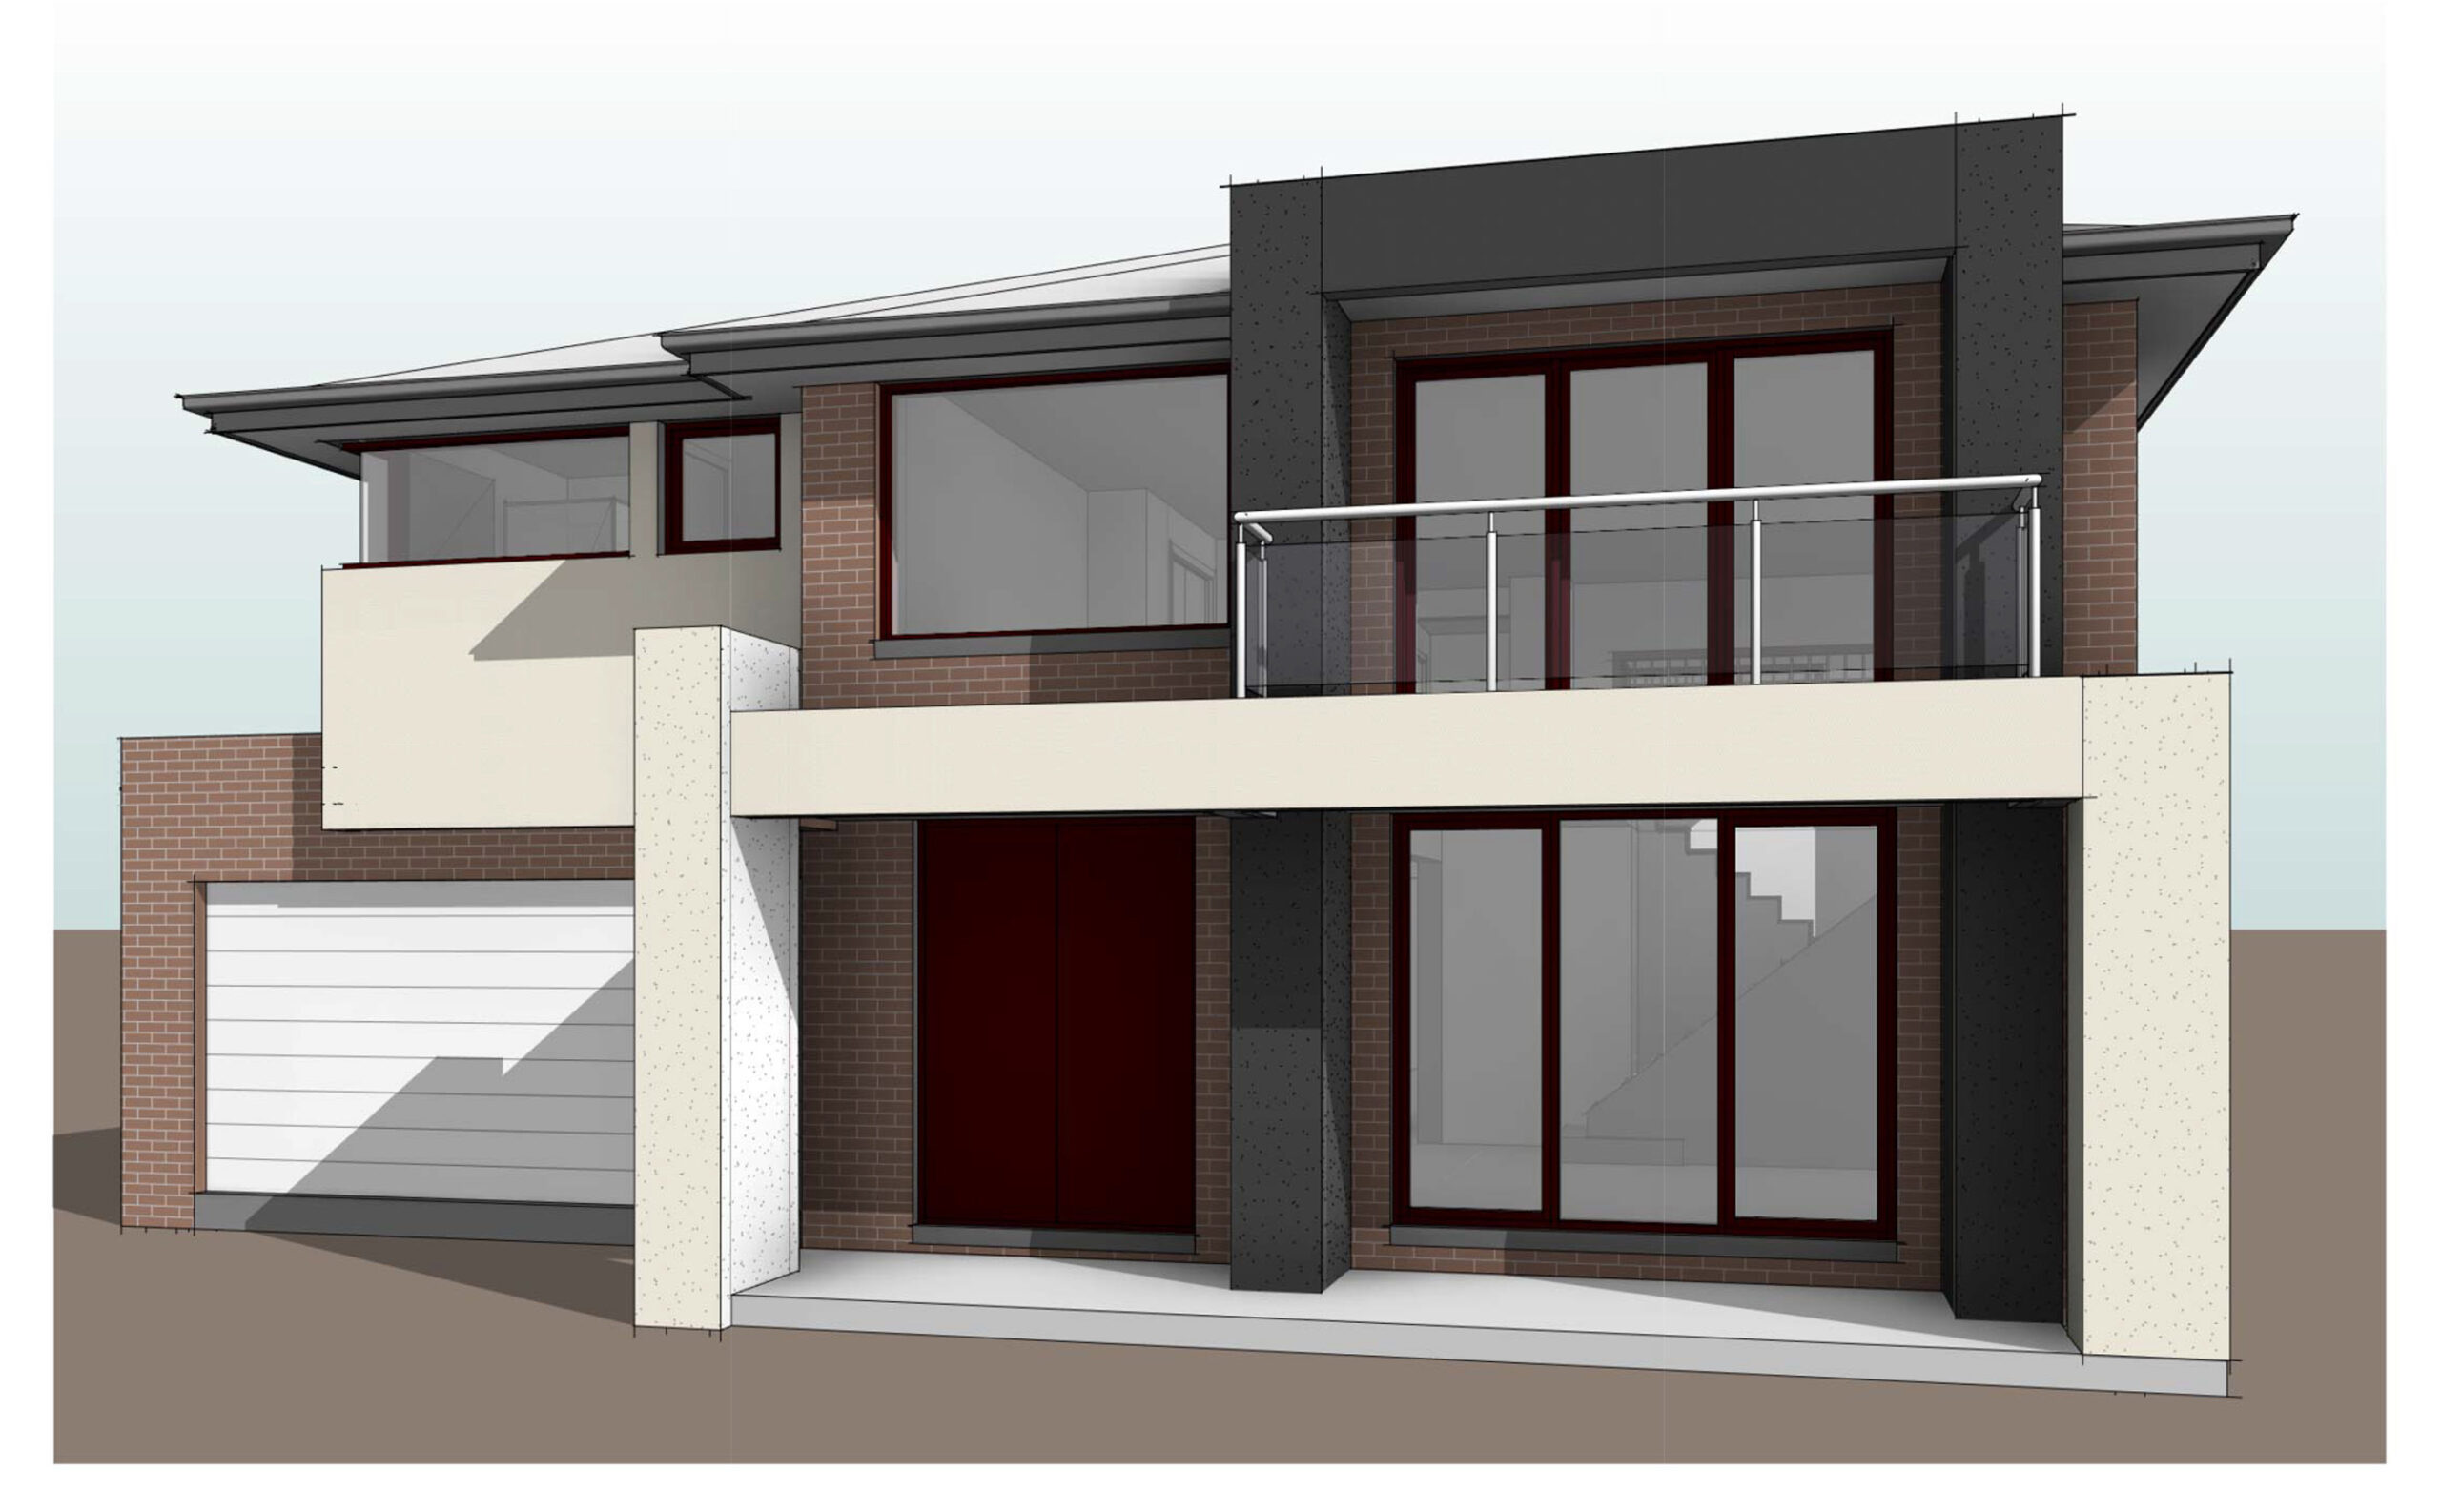
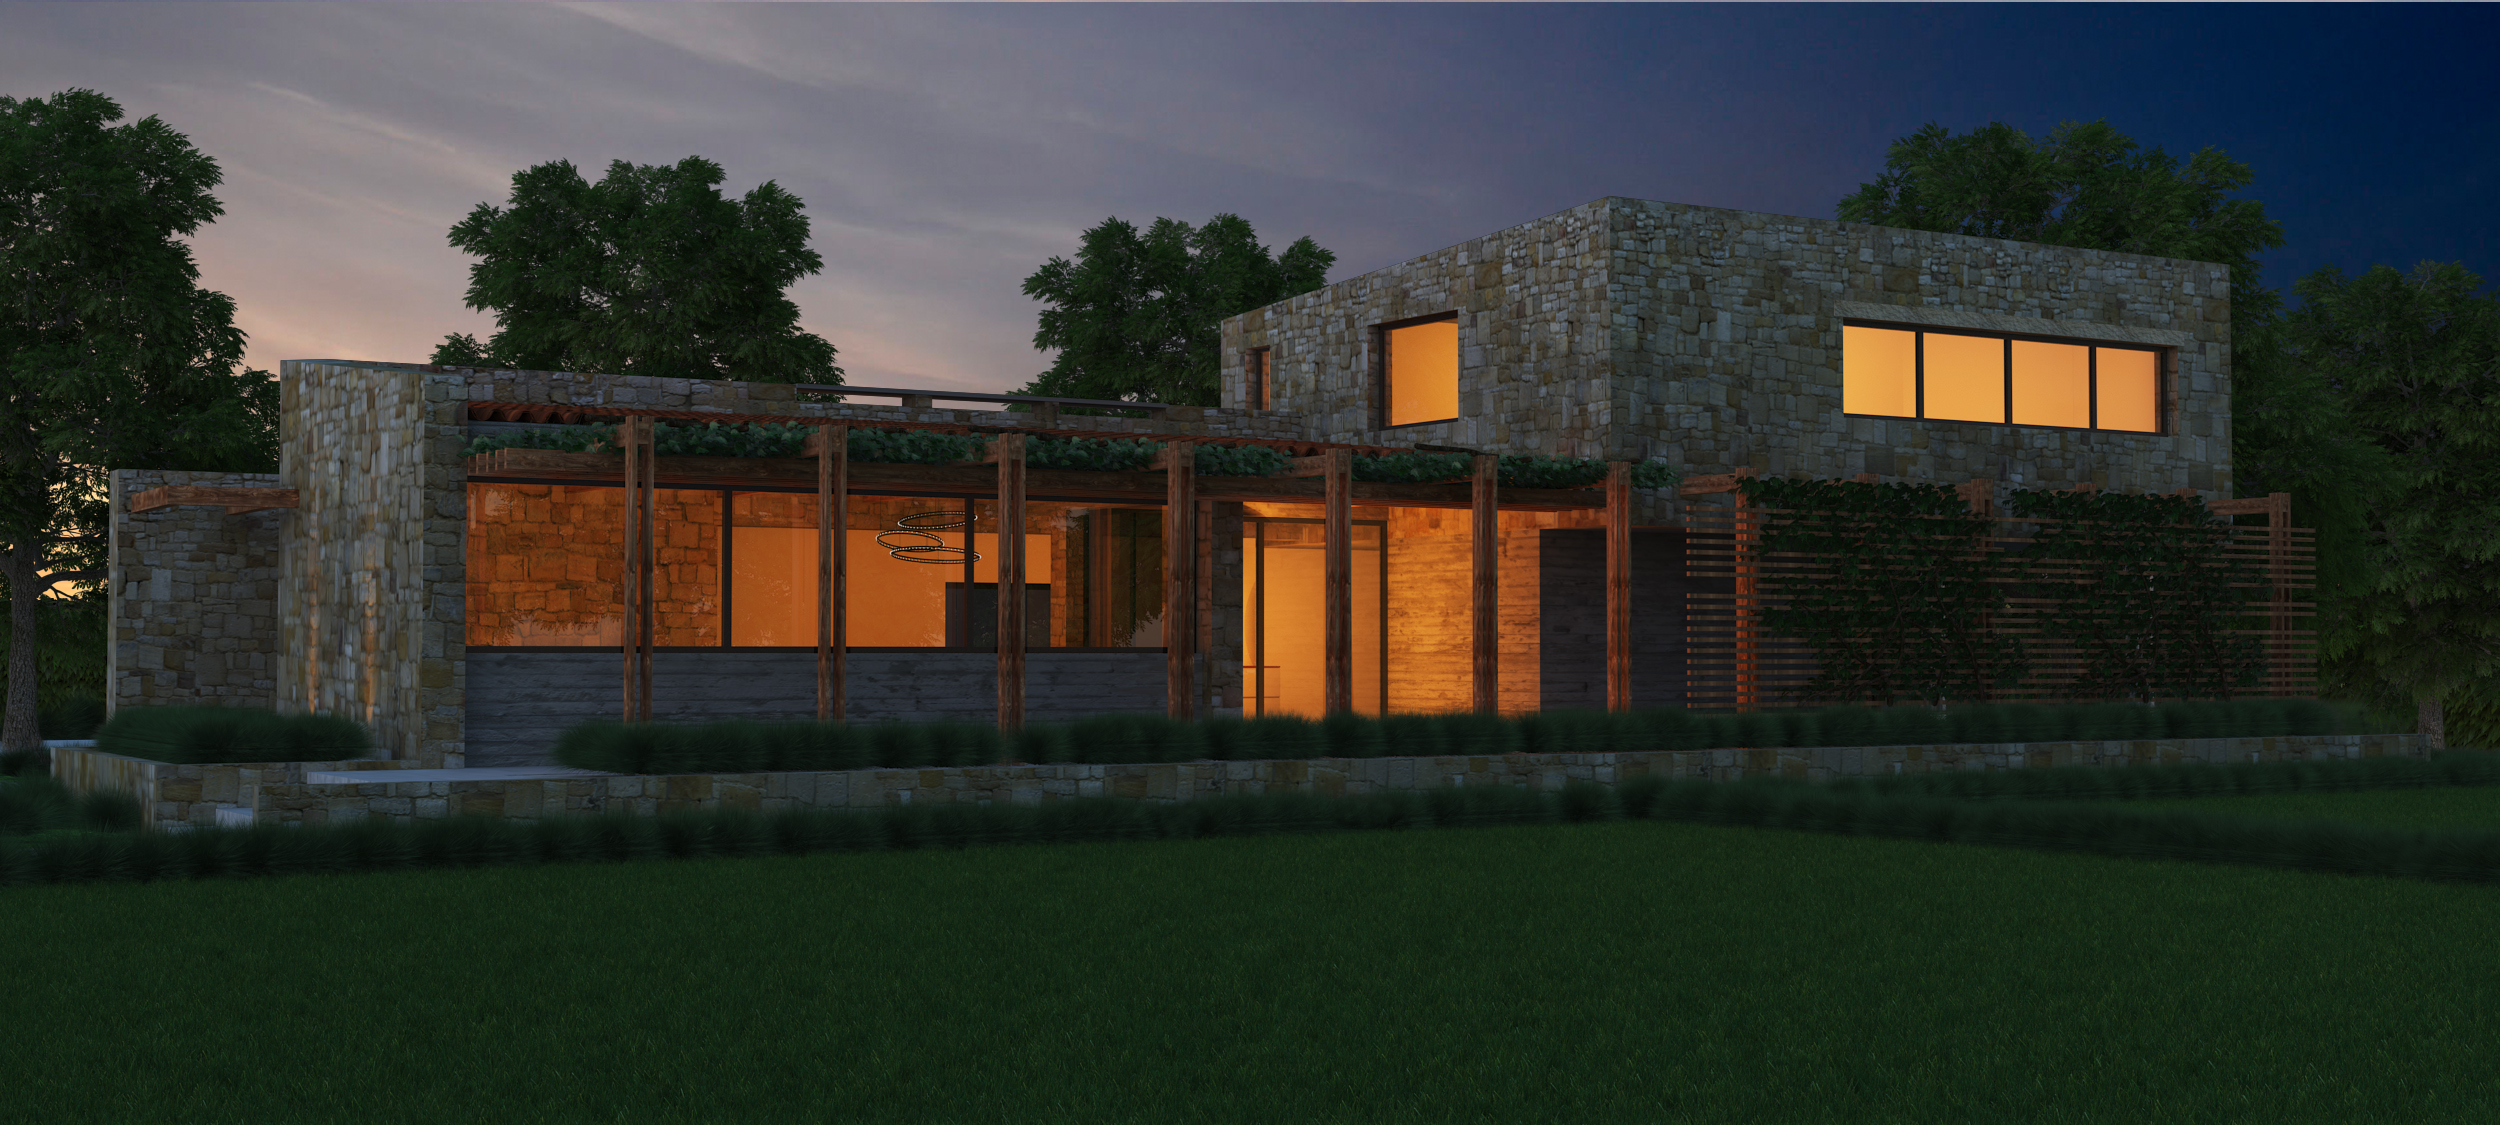
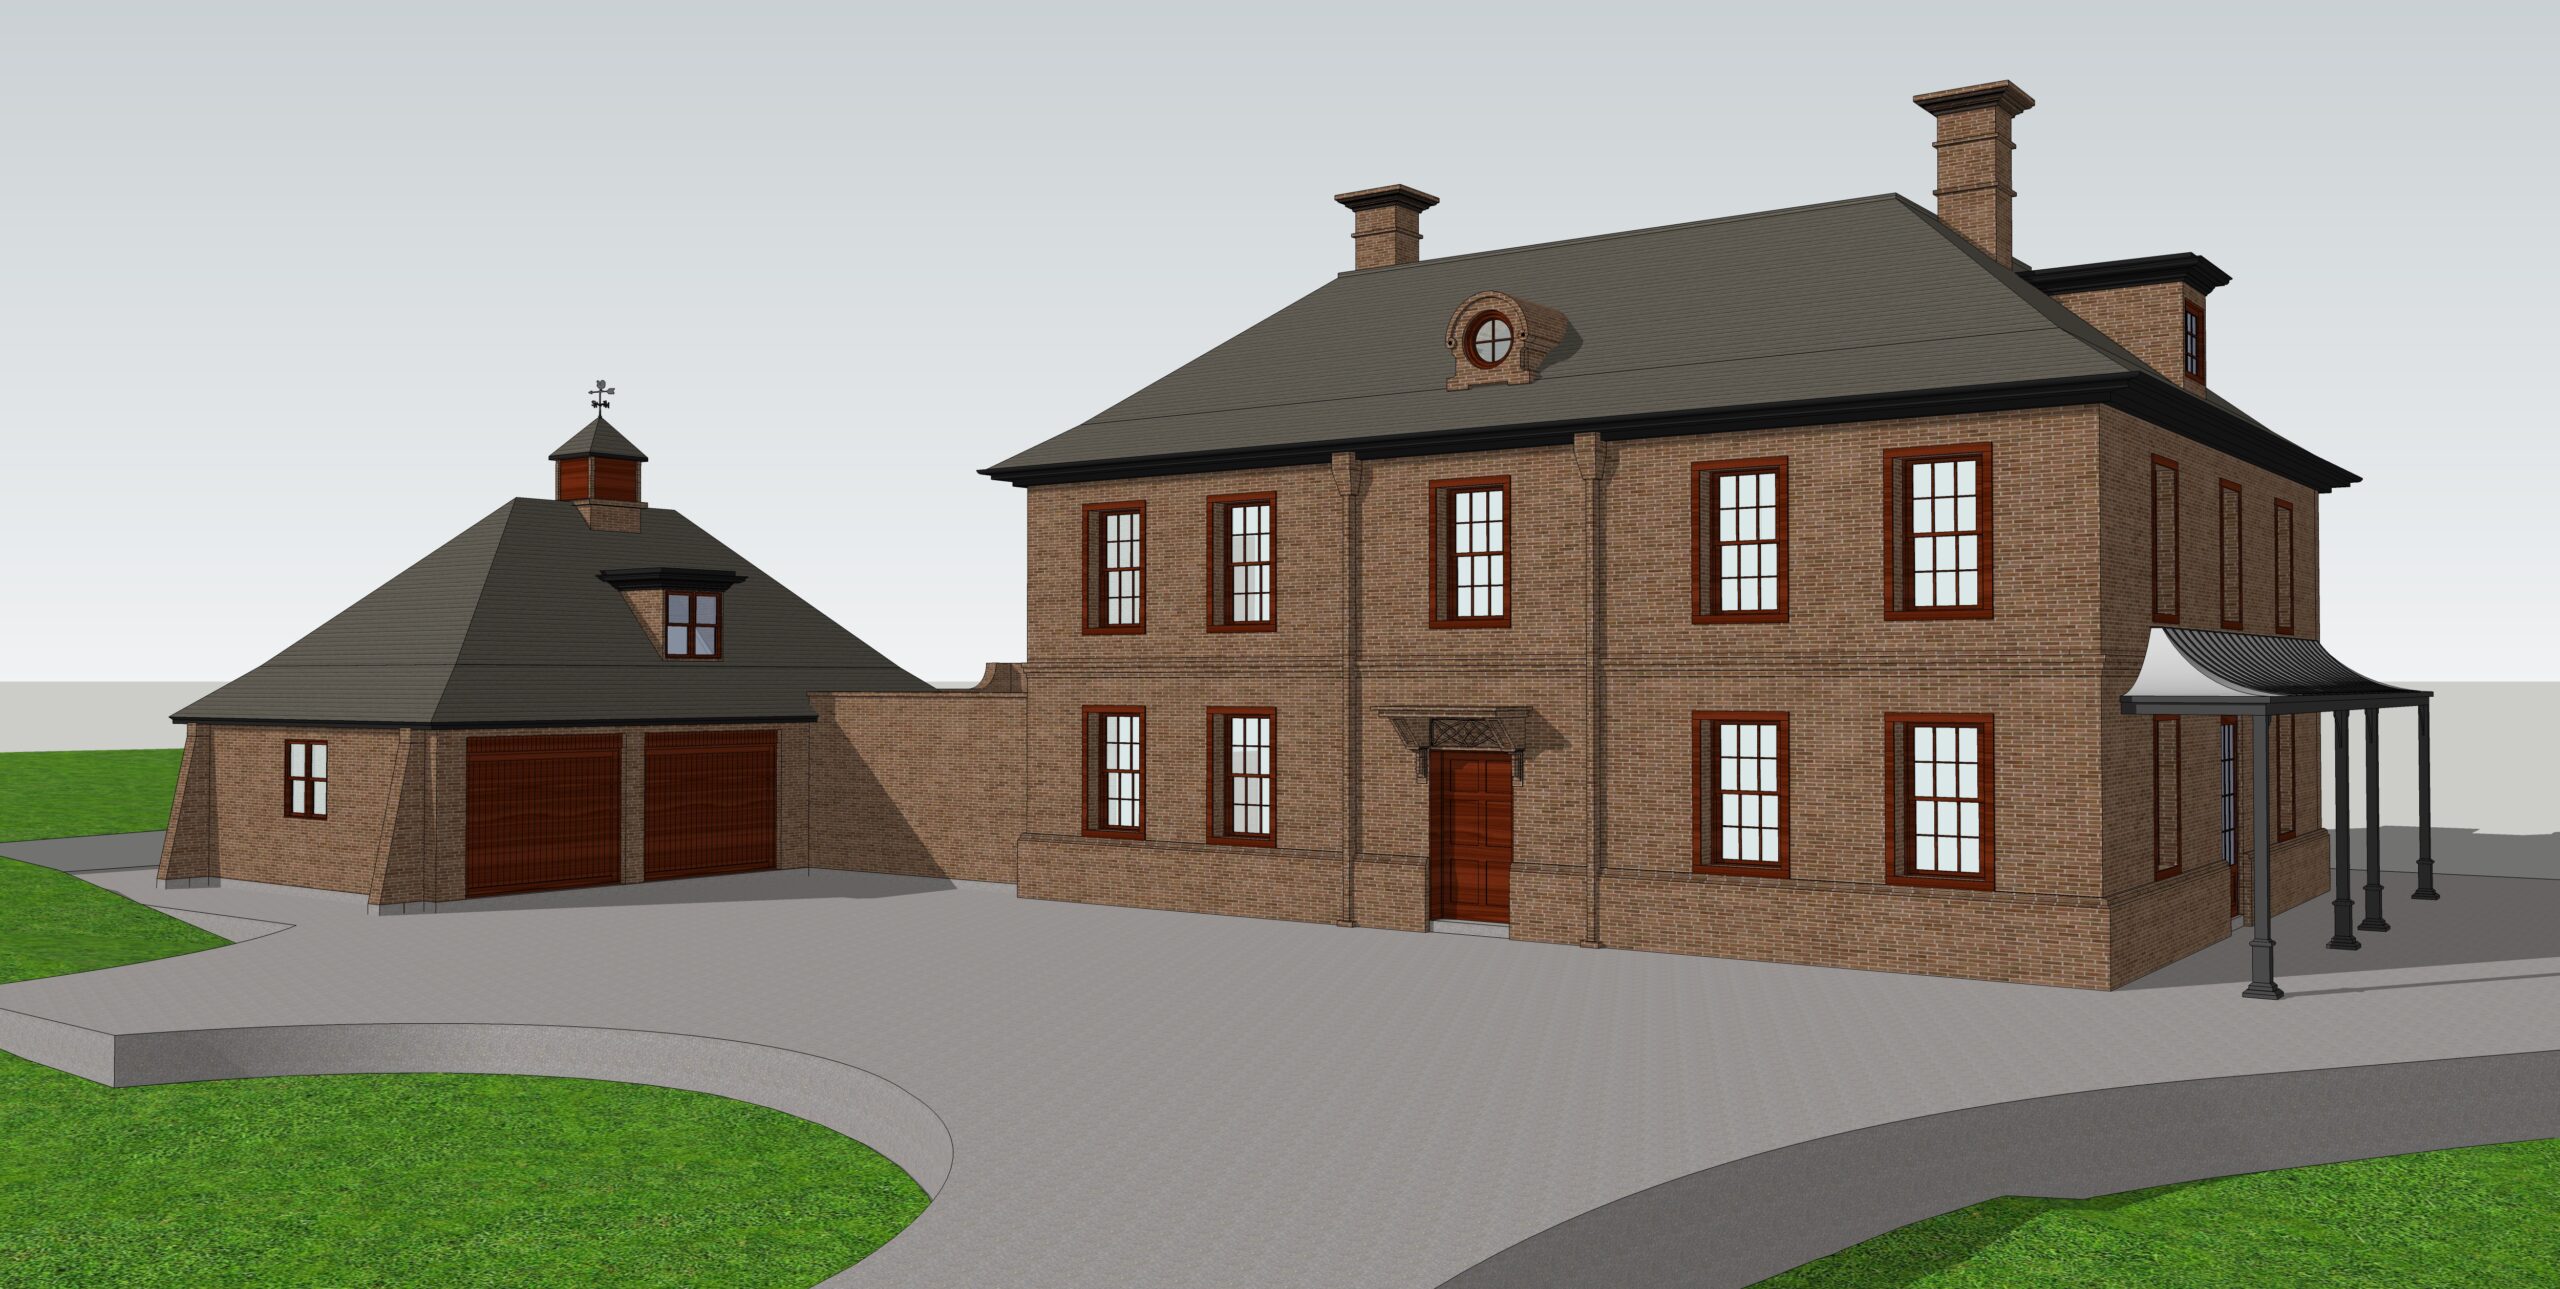
Render the asset: Render your 3D asset, which is the process of converting the 3D model into a 2D image or animation.
Post-processing: Finally, you can use image editing software such as Photoshop to make adjustments to the final render, such as adding effects or adjusting colors.
Overall, creating 3D assets can be a time-consuming process, but with practice and dedication, you can create high-quality assets for use in a variety of applications, such as video games, animations, and product visualizations.
Plan your asset: It’s important to have a clear idea of what you want to create before you start modeling. This can involve sketching out ideas, collecting reference images, and deciding on the level of detail required.
Choose a 3D software: There are many 3D software options available, each with its own strengths and weaknesses. Some popular options include Blender, Maya, and 3ds Max. Choose the one that you are most comfortable with or that best fits your needs.
Model the asset: Modeling involves creating the 3D geometry of your asset. This can involve using basic shapes and then manipulating them to create more complex forms. There are many different modeling techniques, such as box modeling, sculpting, and parametric modeling.
Add textures and materials: Once your model is complete, you can add textures and materials to give it color and surface properties such as glossiness or roughness. You can create your own textures or use pre-made ones.
Light the scene: Setting up lighting is important to create a realistic or stylized look for your asset. There are many different types of lights you can use, such as point lights, spotlights, and area lights. You can also adjust the color, intensity, and direction of the lights.
Render the asset: Rendering is the process of converting your 3D model into a 2D image or animation. This can be a time-consuming process, especially for complex scenes. There are many different rendering settings you can adjust to achieve the desired look for your asset.
Post-processing: Once you have your final render, you can make adjustments using image editing software such as Photoshop. This can involve adding effects, adjusting colors, and cropping the image.
Creating 3D assets can be a complex process, but with practice and dedication, you can create high-quality assets that can be used in a variety of applications.
