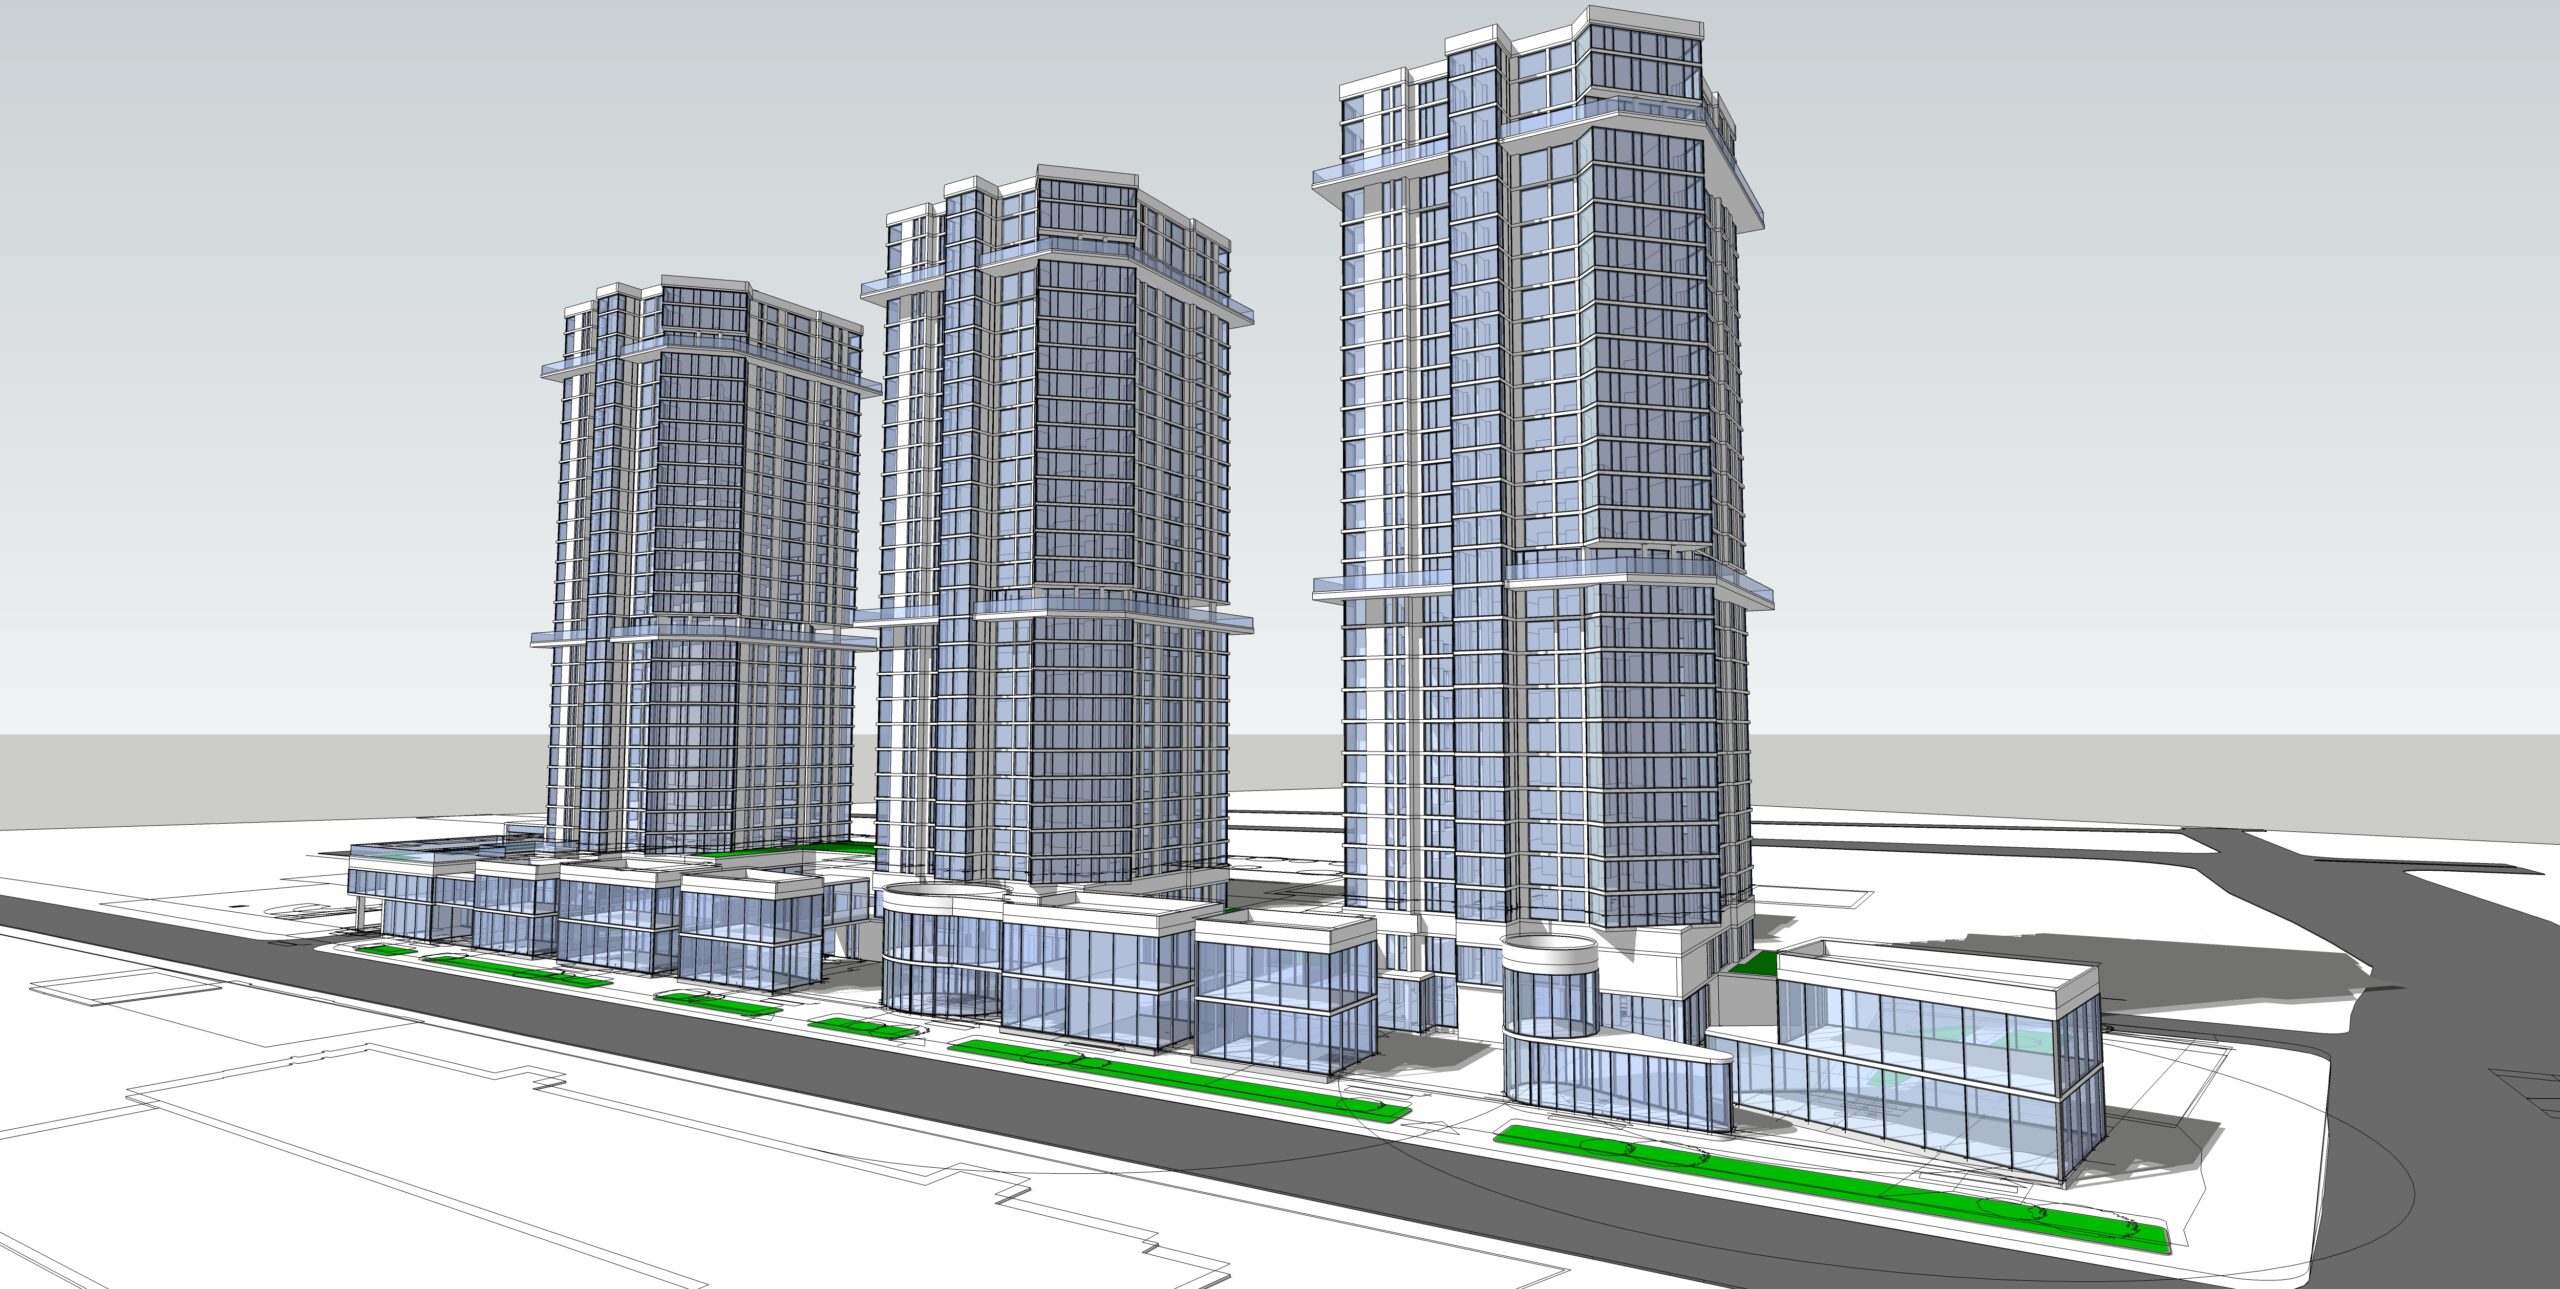
Projection Types in Engineering and Architectural Drawing: Part 1
Posted on : Jan 04, 2022
In our last blog we have covered an overview of orthographic projection and terminologies practiced in industry under architecture service. We at outsources creative works deal with projections and views while working on architecture drawings on behalf of our esteemed global clients since our inception in 2005.
As a leading creative and architecture service provider it’s now more important for us to cover types and sub-types of projections and terminologies used in industry globally next. Primarily there are three sub-types of axonometric projections used in industry, which are isometric projection, diametric projection and trimetric projection mainly based on the angle at which the subjected view deviates from the orthogonal.
As far as our industry experience goes, the most popular client requirement under engineering drawing and architecture drawing services and axonometric projection is isometric projection. Under isometric projection usually there’s a common angle of 1200between the 3 axes of space because of which spaces appear equally foreshortened in such kind of views type. One of the key points to note here is under isometric views the proportions of lengths are preserved because of uniformity in distortion caused by foreshortening which make it easier for anyone to take proportional measurements from the drawing directly.
Second sub-type of axonometric projection is diametric projection, primarily it differs in direction of viewing over isometric projection; over here two of the three axes of space appear equally foreshortened. For diametric drawings it’s important to note here that dimensional approximations are common.
The third sub-type of axonometric projection used in industry globally under engineering drawing and architecture service is called trimetric projection. Just like isometric and diametric projections the trimetric projection differs in the direction of viewing over other two. In trimetric projection drawings the direction of viewing of all the three axes appear unequally foreshortened. Again its common to refer dimensional approximations in trimetric projection drawings; as a result and standard industrial practice we have come across very few or even rear instances when our esteemed global clients has asked us to work on any such trimetric projection technical drawings.
