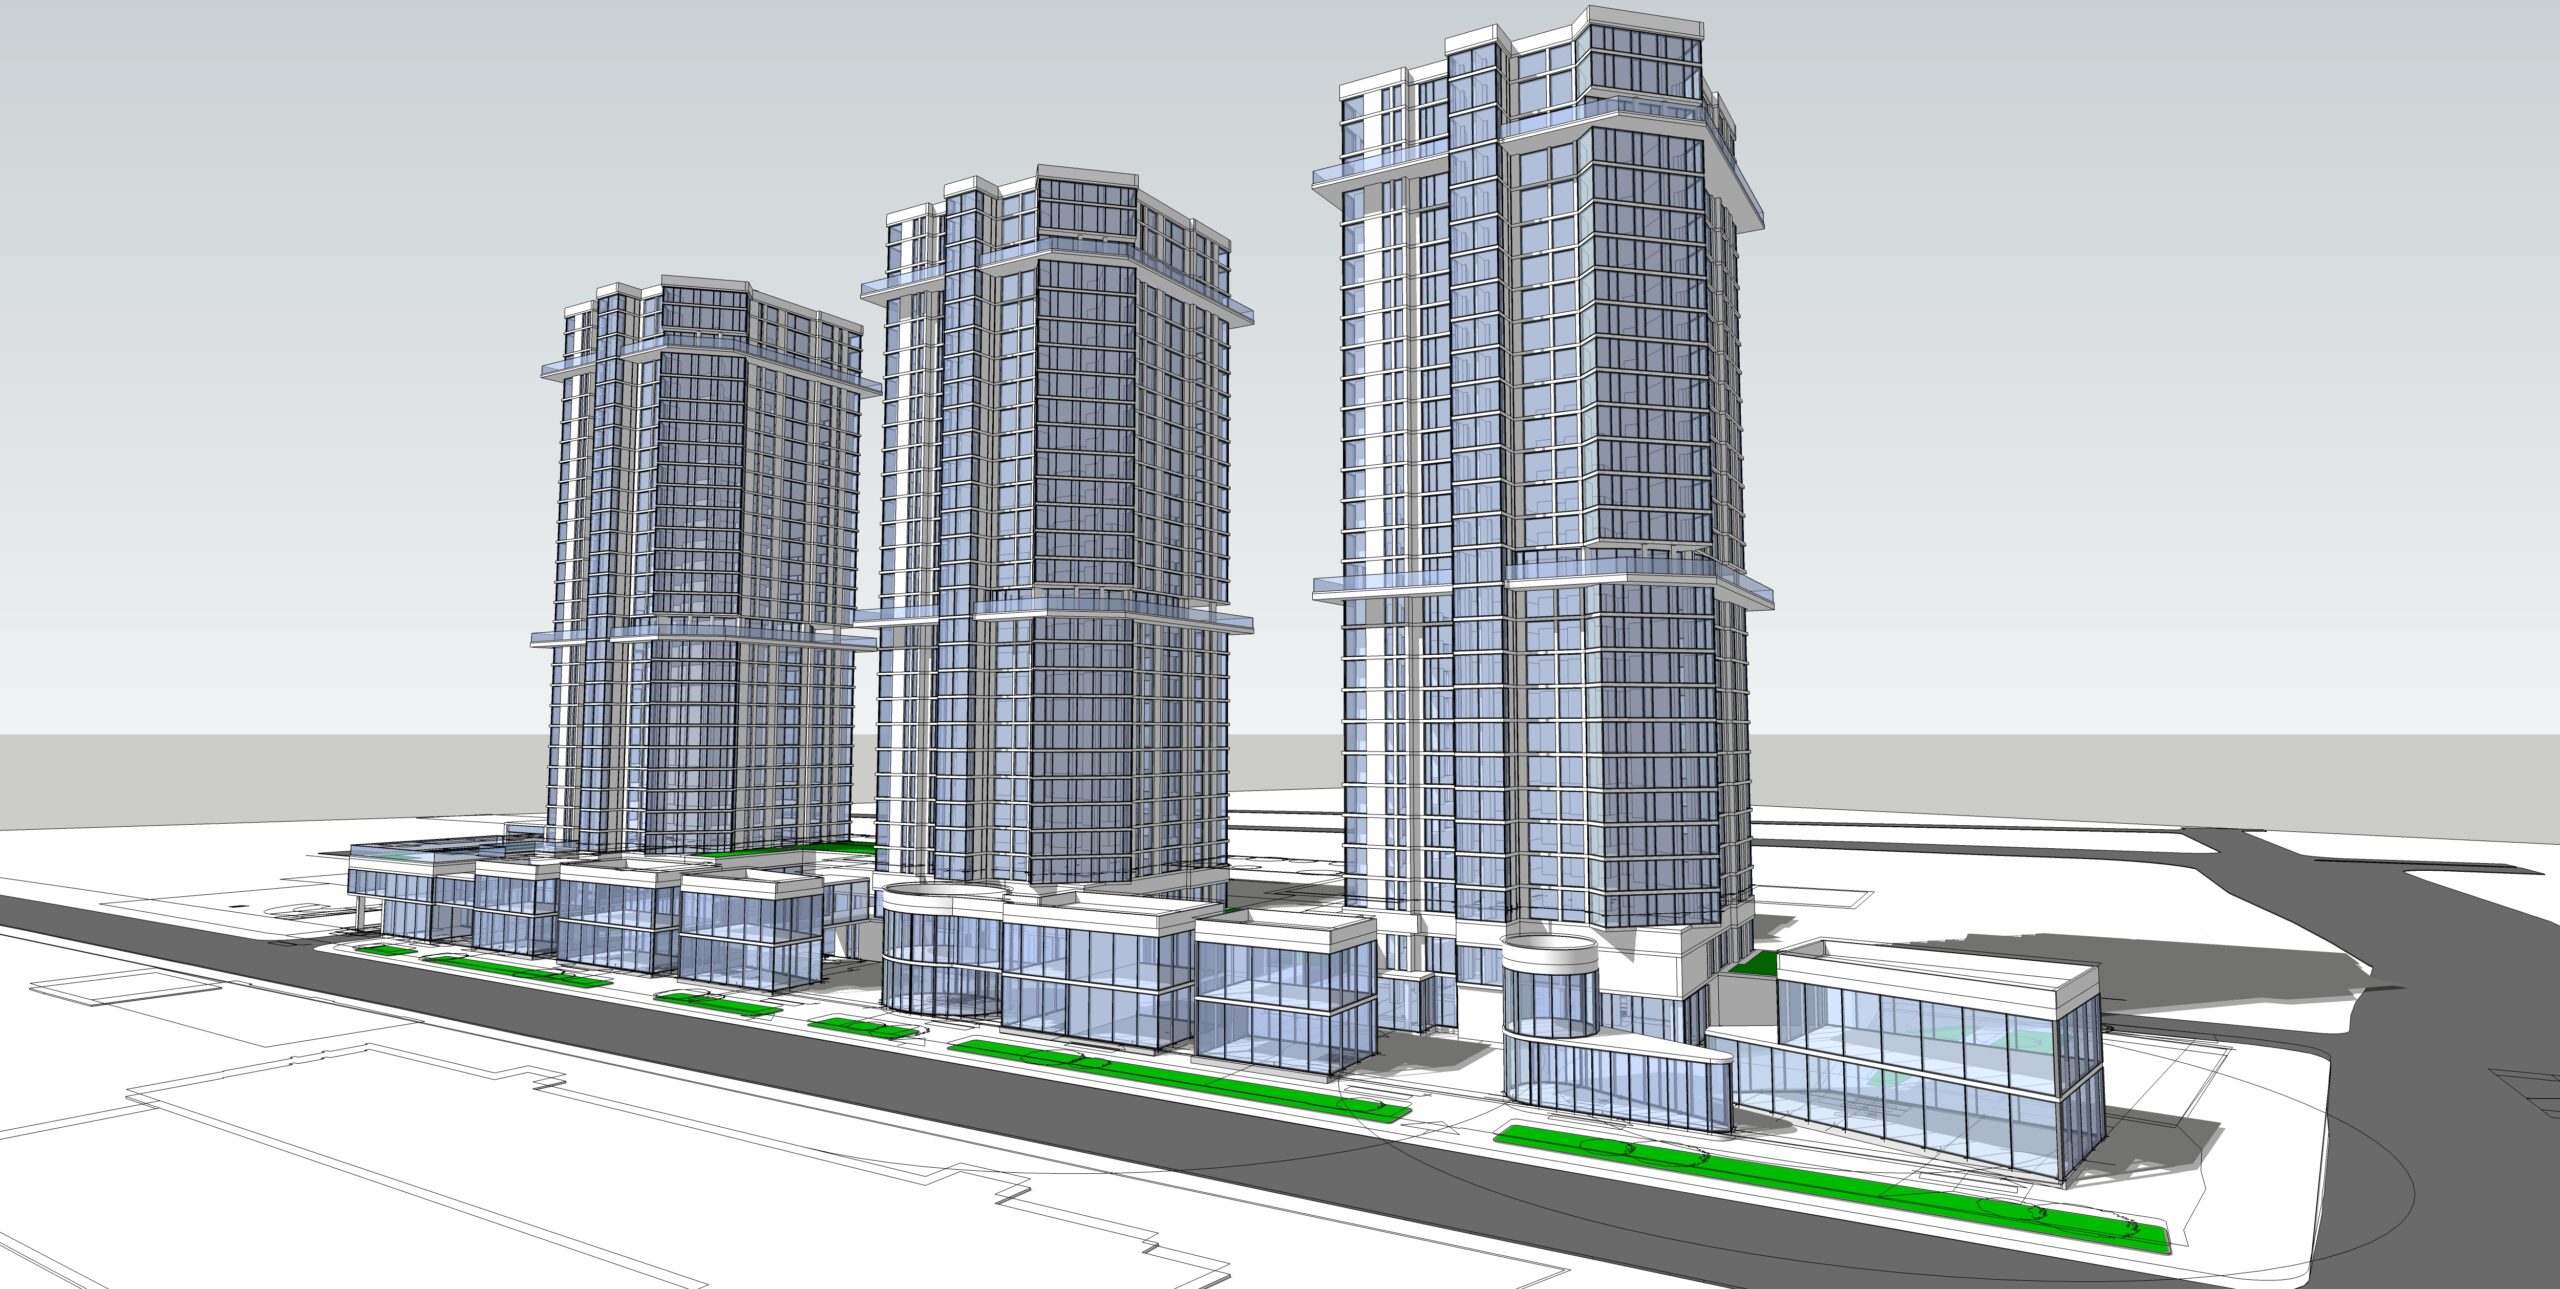
Basic steps to be followed to create 3D walkthrough
Posted on : Jan 10, 2020
We at outsource creative works and outsource architectural services starts any project with basics and goes in depth and details of the client briefs. Since 2005 our success mantra had been to work on the very root of any technology or tool. We would like to highlight some of the basic steps involved in creating 3D walkthrough in this article.
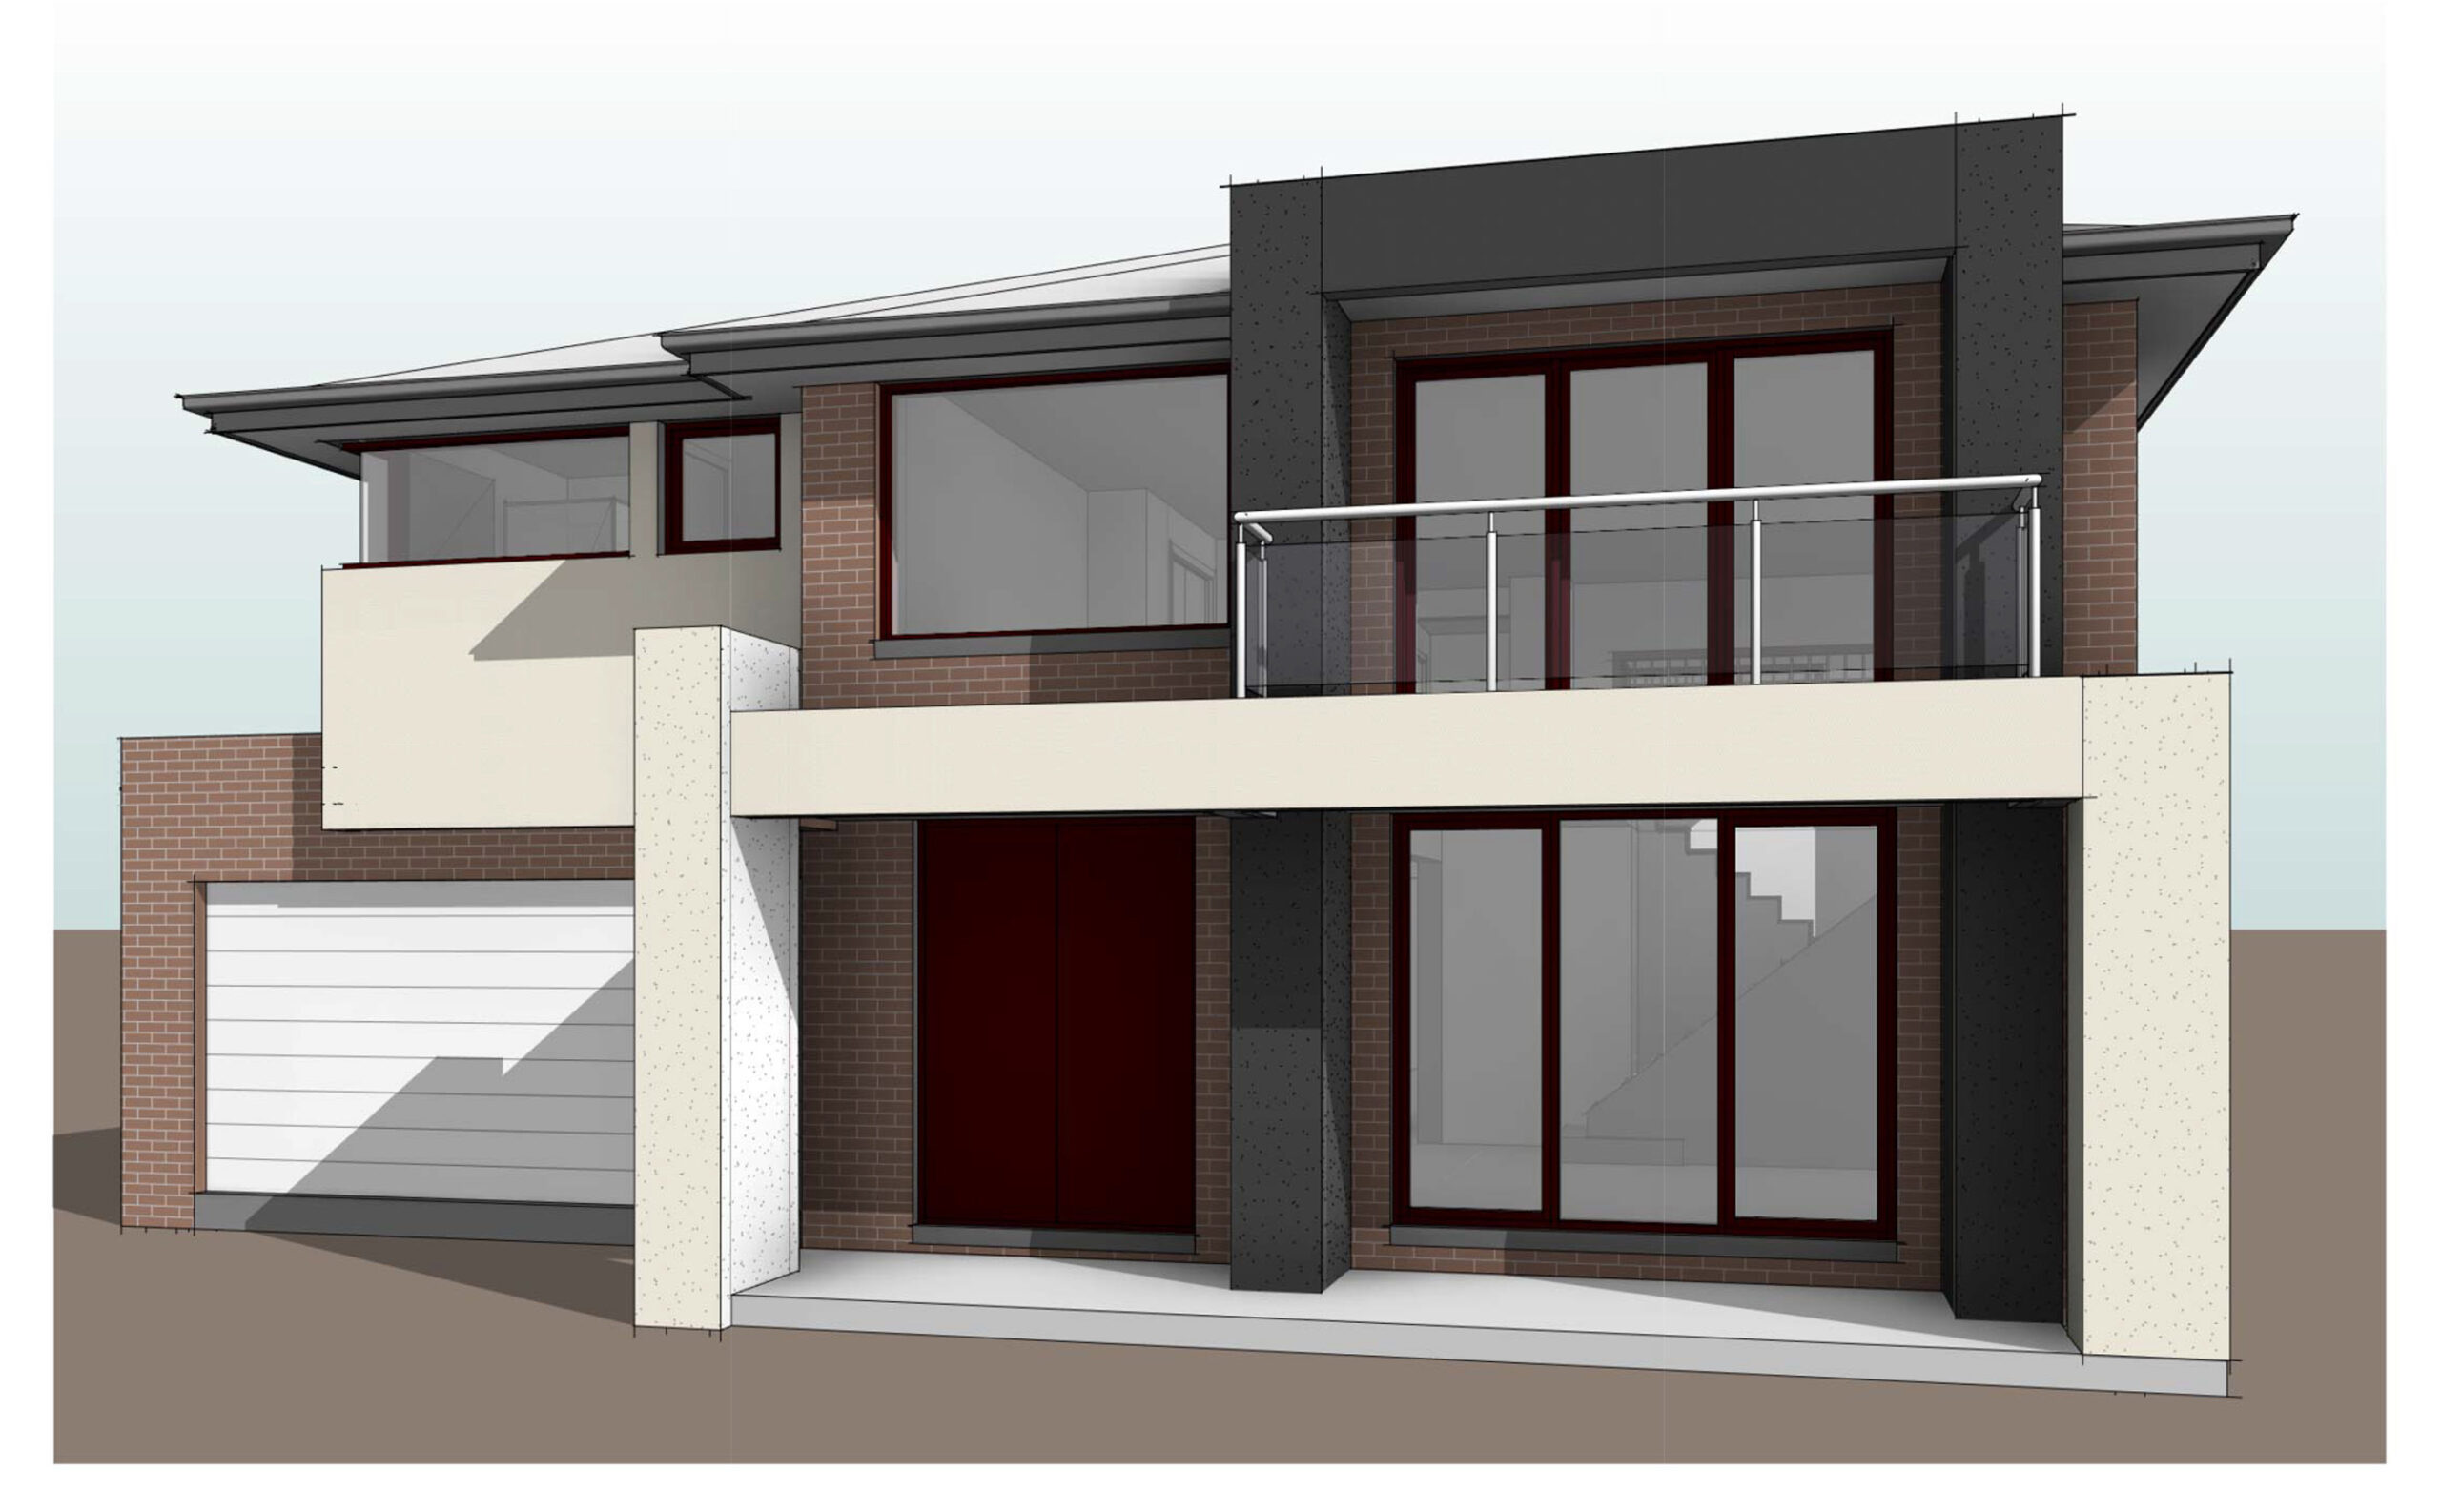
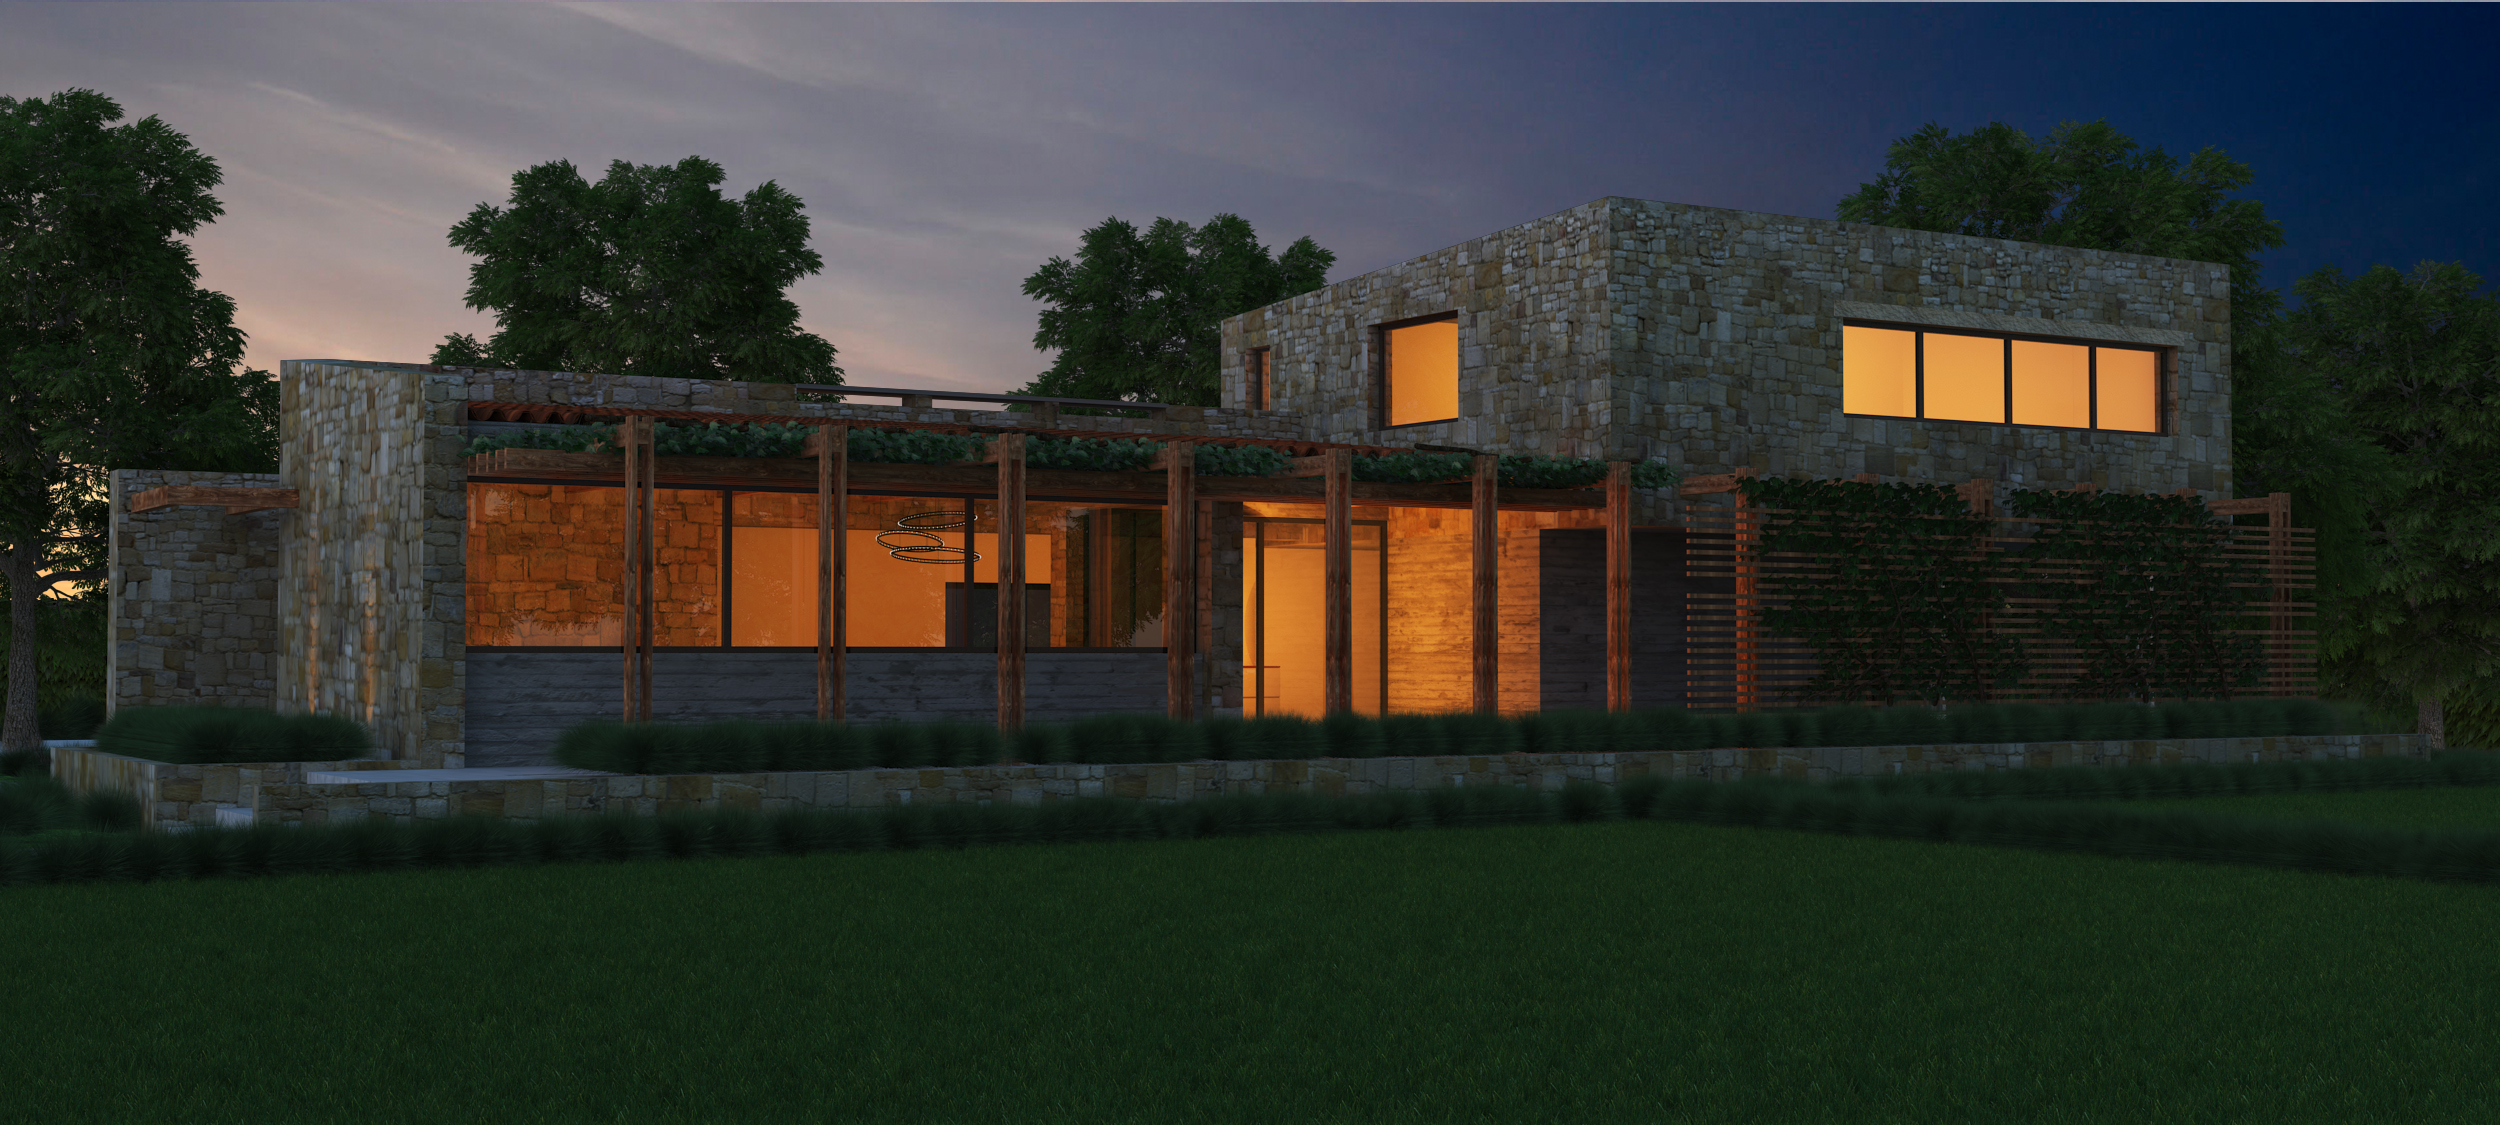
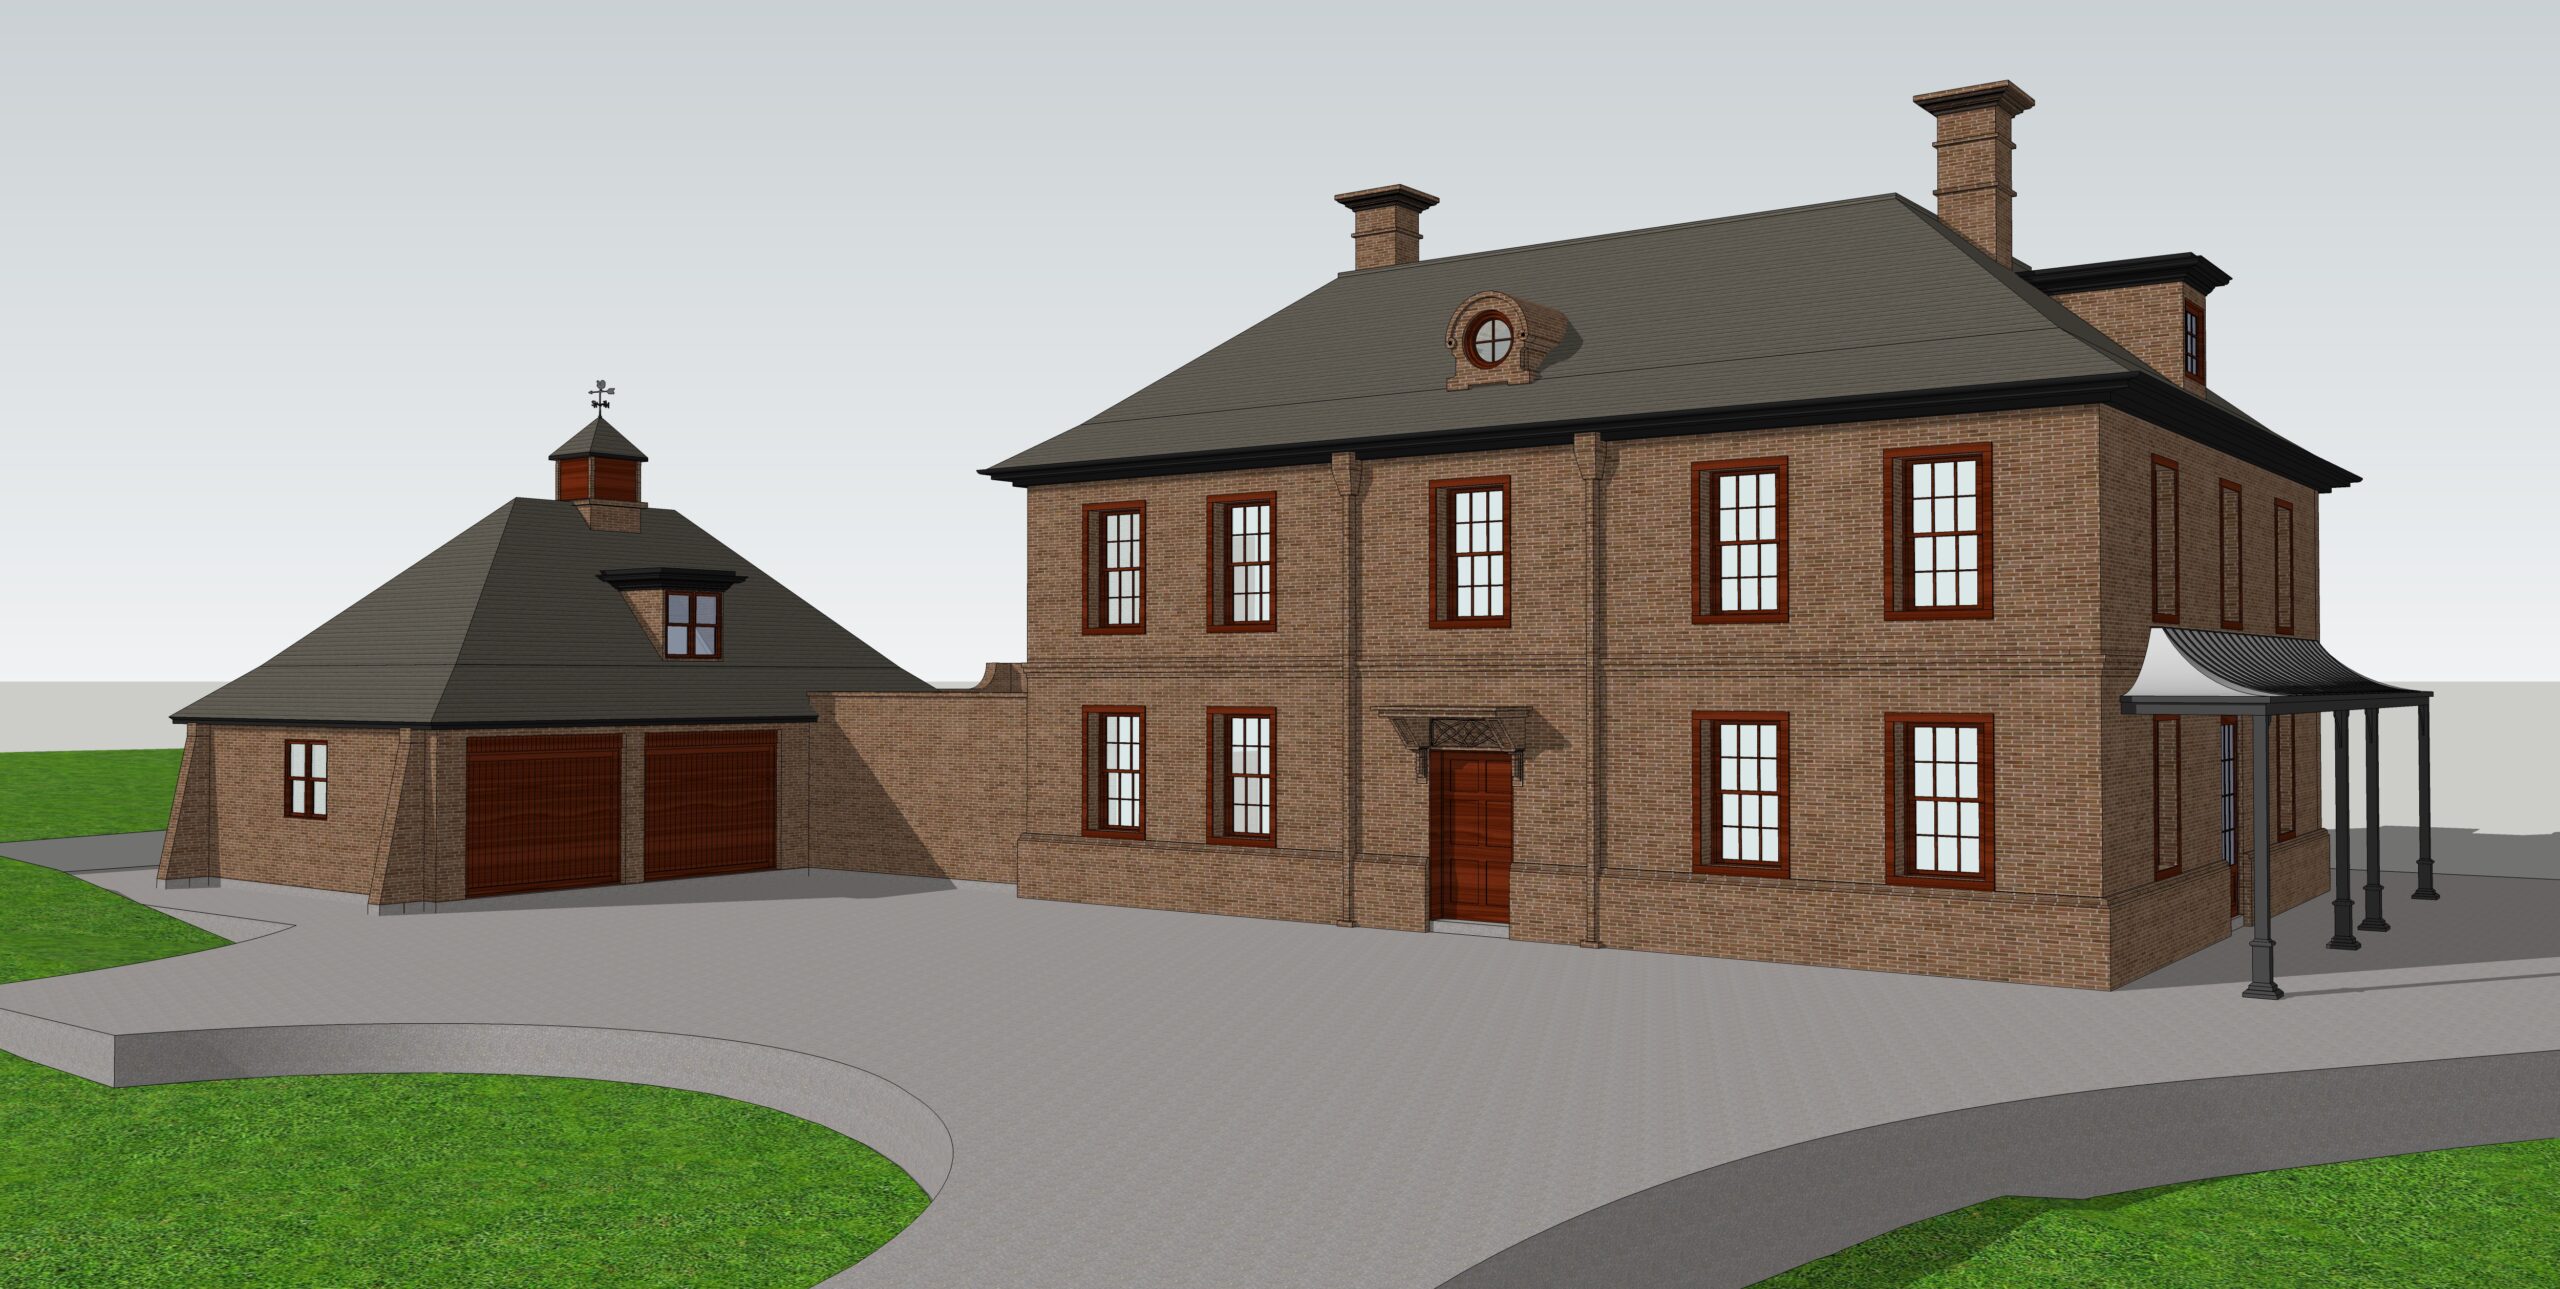
As the first step we recommend designers to start with the end point in mind. There has to be a precise starting and ending point as per the brief from the client also as per our experience while working on projects under outsource creative works and outsource architectural services we suggest designers to start with the aerial view of the project and add the relevant elevations. Secondly add a camera to the walkthrough; as per our experience this is one of the most critical steps as it place marks all the perspectives of the project under consideration. Most of the tools provide view ports for designers to select from; they could select from left-view port or the right-view port, we recommend designers to go with left-view port orientation and make sure right focal length is set before initiating the camera parameters.
Designers needs to ensure they are able to present good amount of details in their design at the same time managing the pace at which the walkthrough proceeds to make it engaging to the user. With advance 3D walkthrough tools in place designers could work out the most appropriate frames per second pace, we recommend 15 frames per second. One of the most critical decisions a designer has to take is to decide start and end place of the 3D walkthrough as it determines the path the 3D walkthrough animation going to follow.

