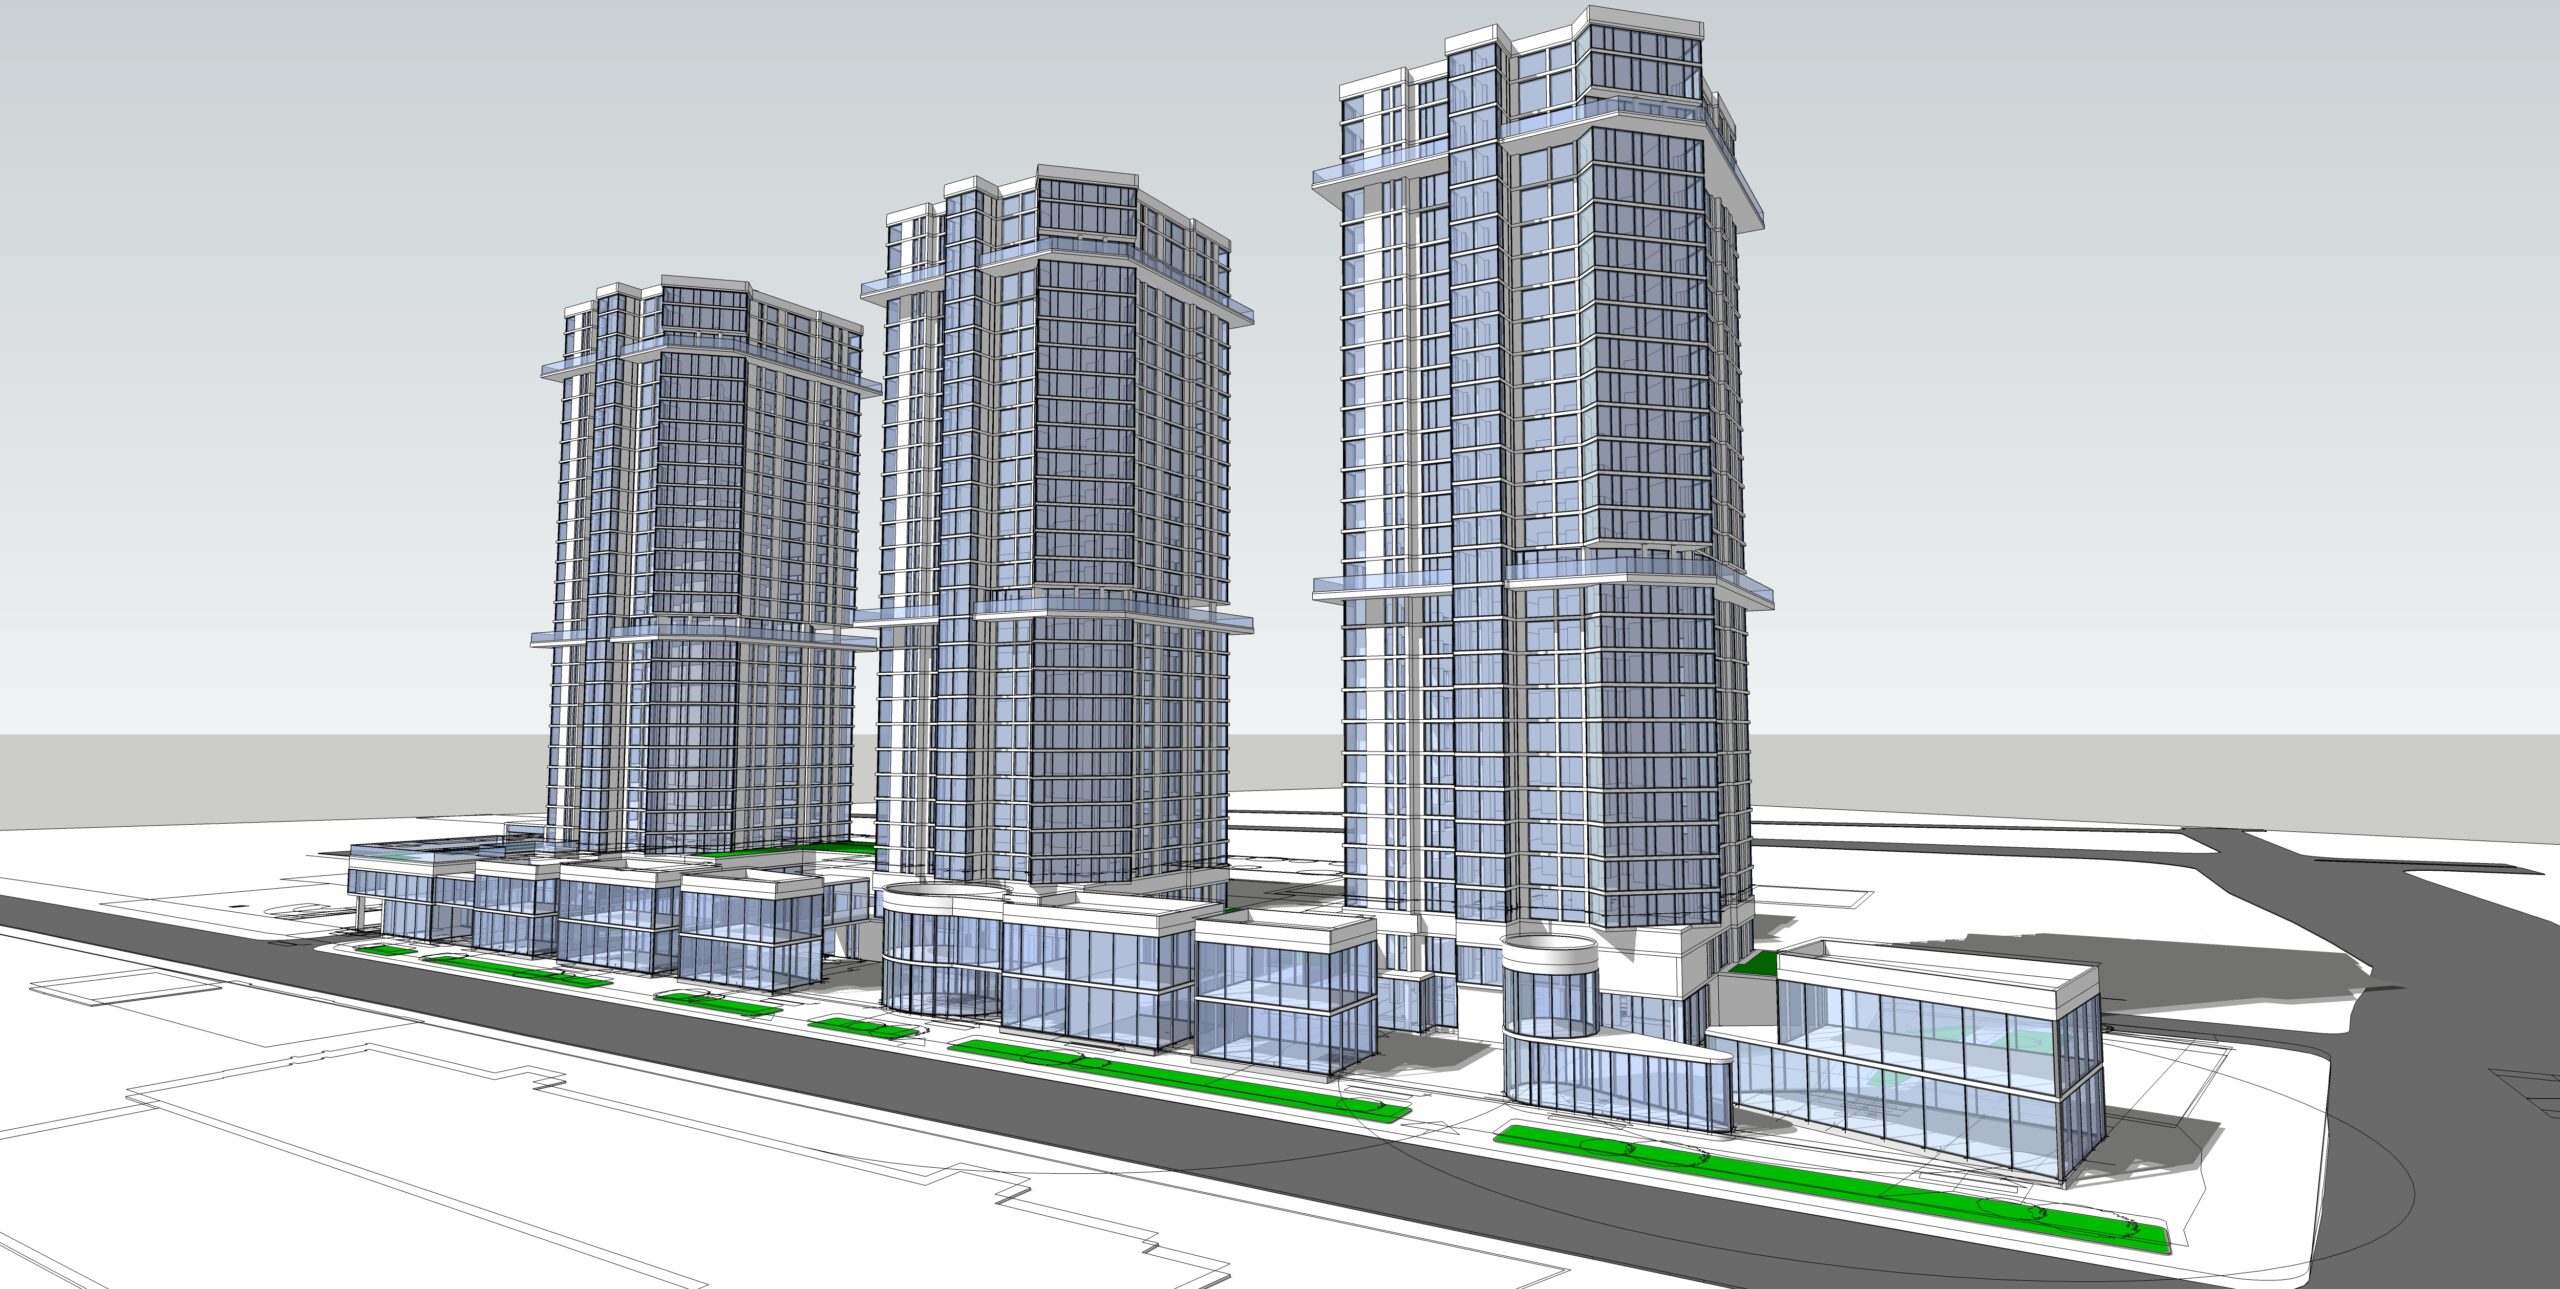
Orthogonal Projection in Architectural Drawing:
Posted on : Dec 08, 2021
Three Dimensional Representations in Two Dimensional Space
Outsource creative works as one of the industry leaders in outsourced architecture services come across many such requirements where our esteemed global clients ask for representation of their three dimensional object or products in two dimensional spaces. As the part of basic descriptive geometry and in-line with guiding principles of parallel projection where a three dimensional object is represented in two dimensional projection plane or better known as image plane and the rays or the lines of sight are represented parallel to each other we work on more representative Orthographic projection or Orthogonal projection.
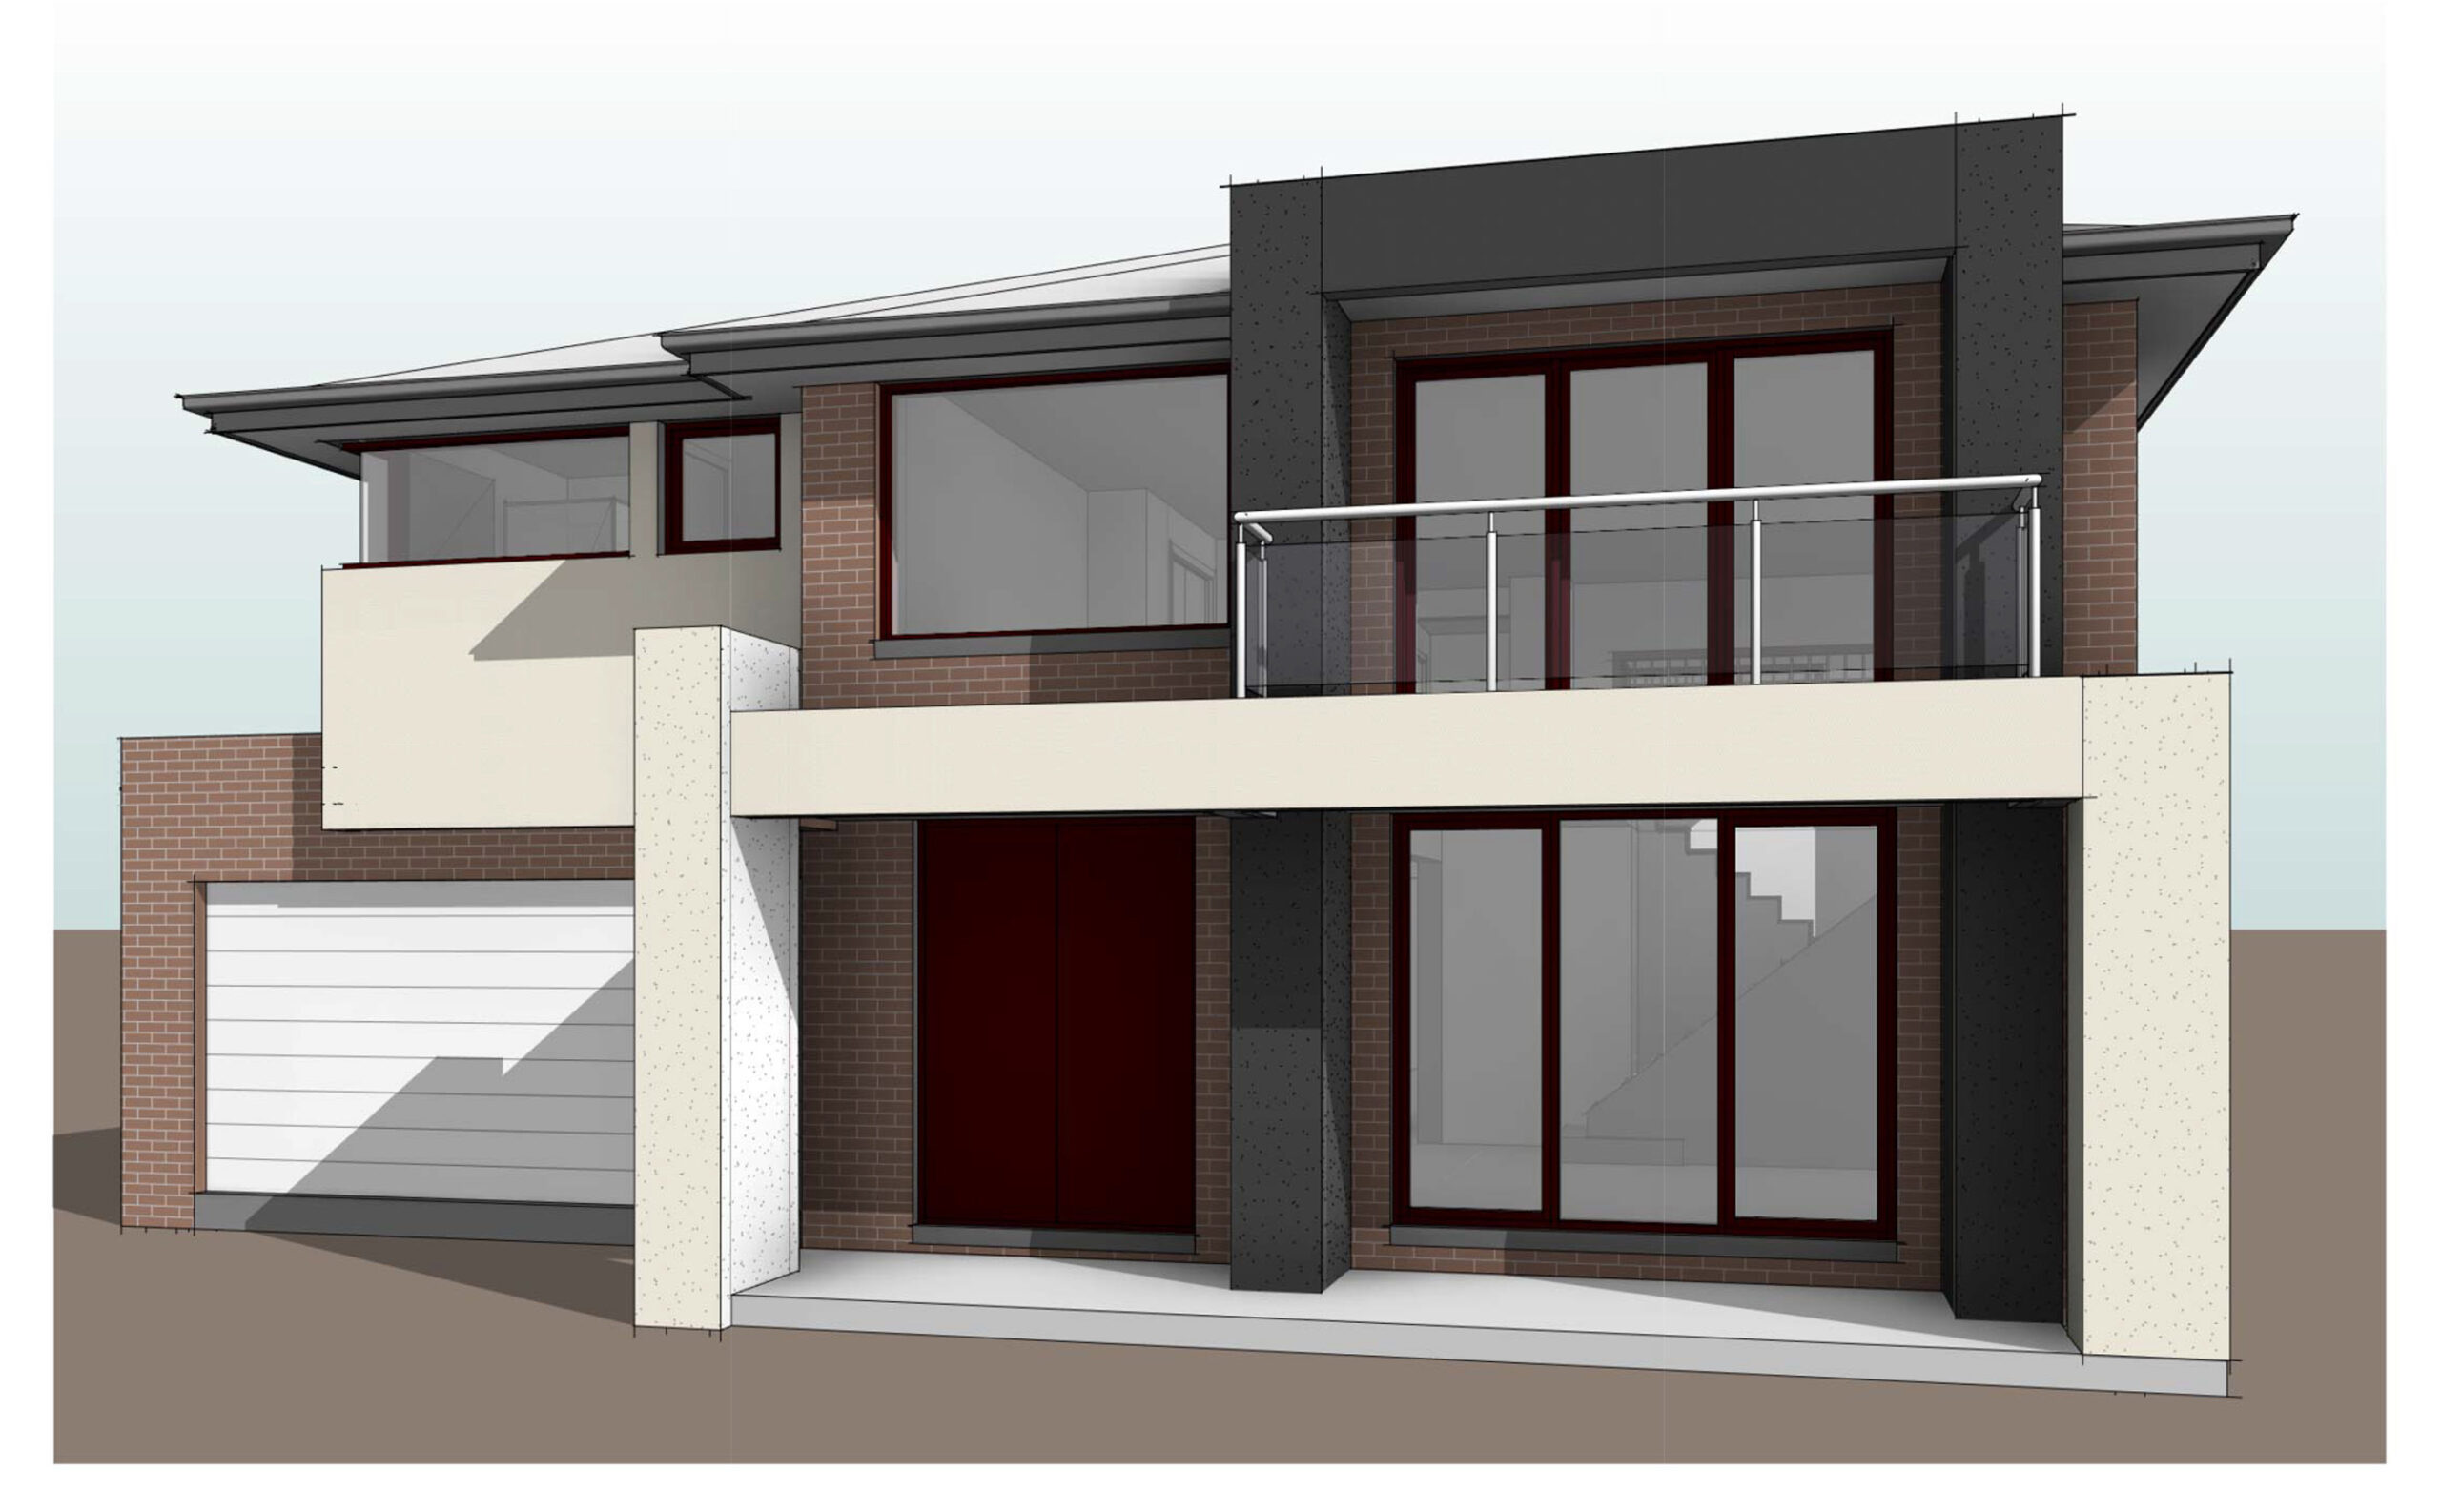
As one of the forms of parallel projections, in architecture drawing works under our outsource architecture services, orthographic projection is the representation of projection lines which are orthogonal to the projection plane, consecutively all the plans represented in two dimensional space under this model start appearing in affine transformation. Many a times while representing an object where the planes or principal axes of the subject are parallel with the projection plane the very term orthographic is been reserved. As standard industrial practice across globe we have observed that these in turn are also popularly known as primary views in Multiview projection.
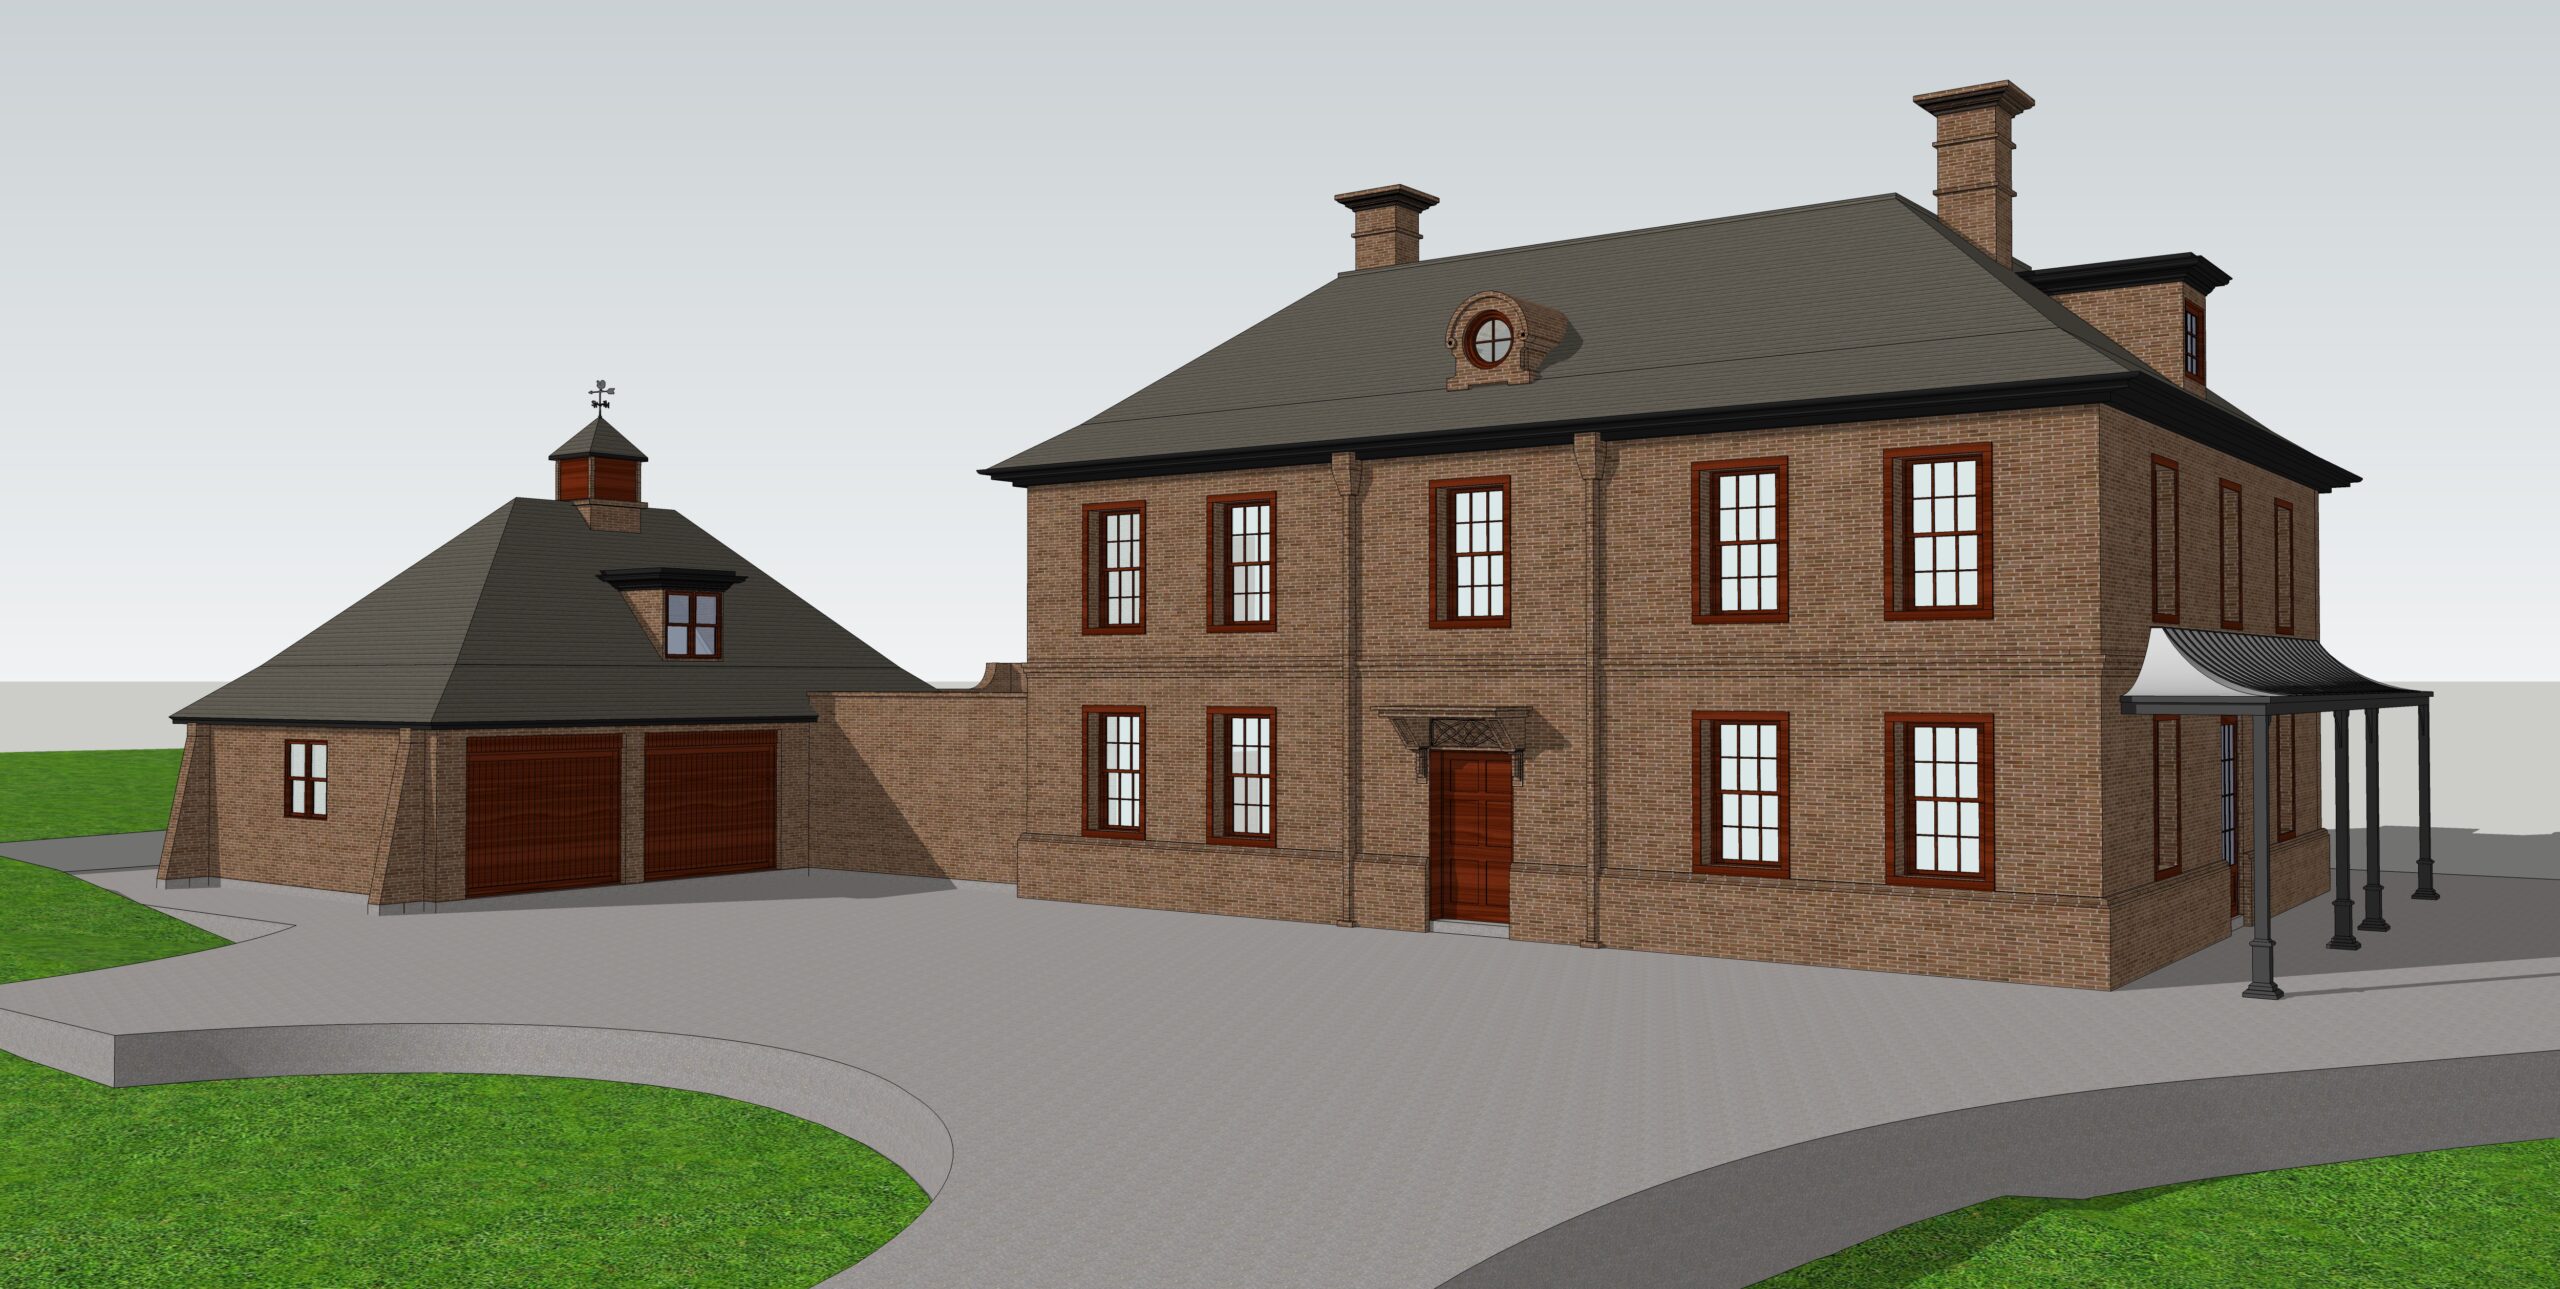
Over here yet another point we shouldn’t be overlooking is the standard usages of term Axonometric. Primarily in an orthographic projection when the axes or principal planes of an object are not parallel with the projection plane, such representation as an industrial practice across globe is been termed as axonometric representation. Just in line with usage of primary views in Multiview projection under orthographic projection; in this case for axonometric many a times standard industrial practice followed by many of our Architecture Service clients globally is to call it auxiliary views. Also it goes unchallenged in industry, just as primary views has sub-types or sub-elements like sections, elevation and plan; isometric, diametric and trimetric are considered as the sub-elements of auxiliary views.
